This guide will show you how to modify your PlayStation Classic using AutoBleem so you can add more games and play games from other consoles (like the NES, SNES, N64, Game Boy, and more). We will cover everything you need to know about using AutoBleem.
Contents
Overview
AutoBleem is one of the three programs you can use to add more games to your PlayStation Classic. The benefits of AutoBleem are it is very easy to install, it makes no changes to the internal system (everything is ran off the external USB drive), and it uses its own UI which you can change and add themes. It offers an all inclusive package – you do not need to download any other files. This makes it very easy to install and use.
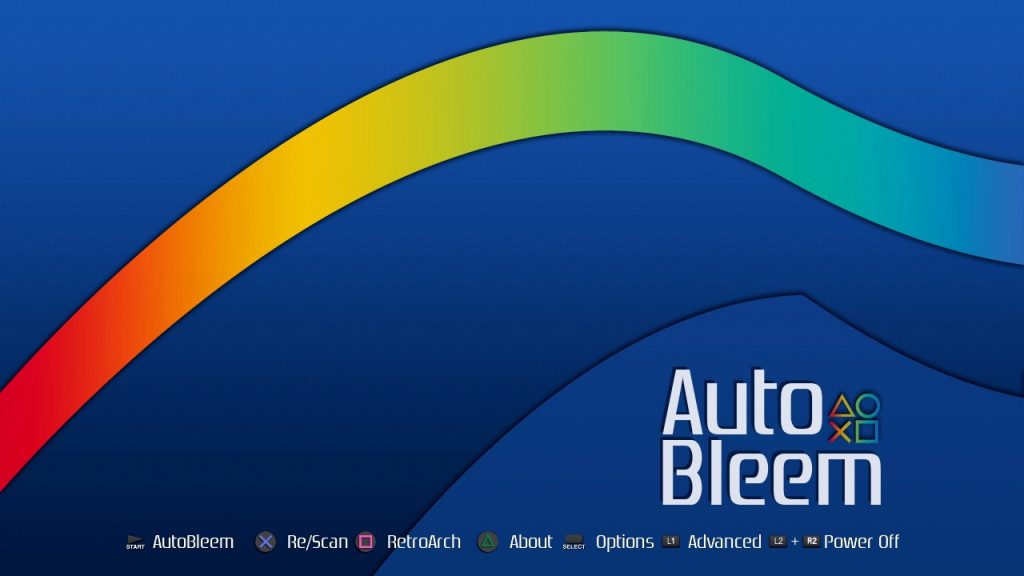
This is the AutoBleem interface where all of your PS1 games are, including all of the original and added games. This is the default theme but you can change it or add your own.

All non-PS1 games are played through RetroArch which you can access through the main menu of AutoBleem.
First, we will show you how to install AutoBleem to your PlayStation Classic. The setup can be done on both a Windows or Mac computer. In this tutorial I will be using a Windows computer but the overall setup is the same with a Mac.
Installation
Before we begin, you will need
- Windows or Mac computer
- Compatible USB drive – I am using this USB flash drive and confirm it works.
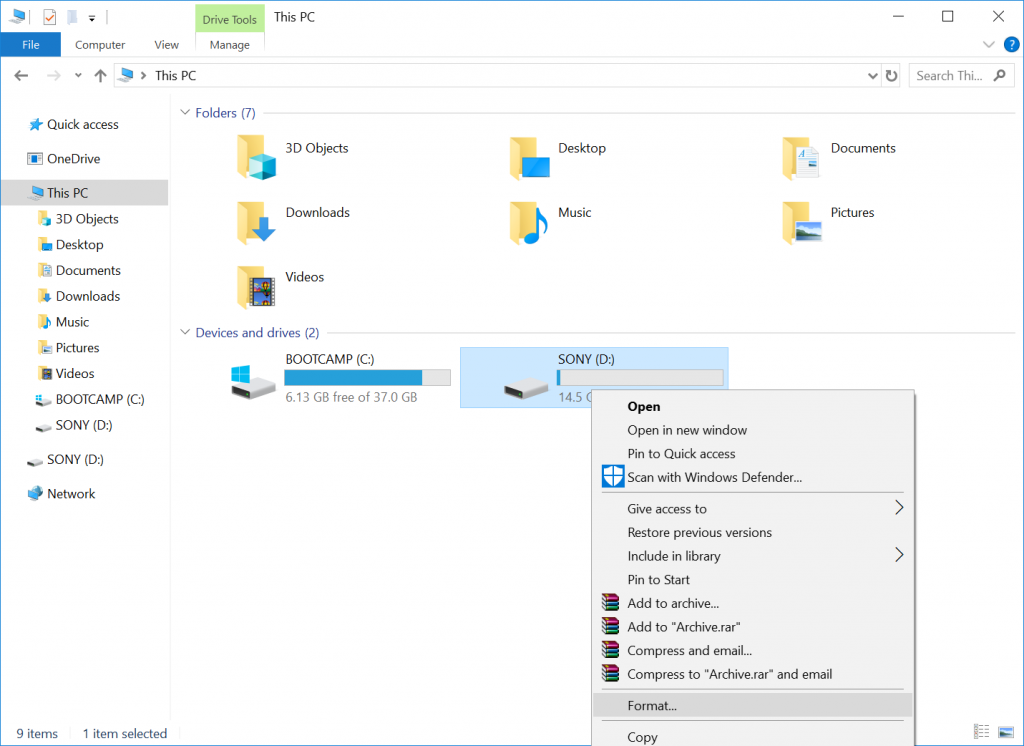
1. First, you will format the USB flash drive. Connect it to your computer, locate the drive, right-click it, and press Format…
2. Select FAT32 (Default) for the File system and name the Volume label SONY (all caps) then press Start.
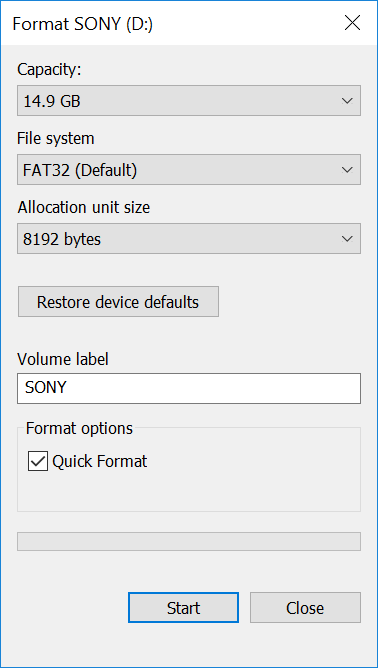
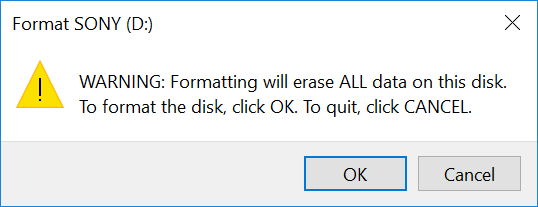
3. Hit OK when prompted to format drive.
4. After the drive has been successfully formatted, download the AutoBleem .zip here.
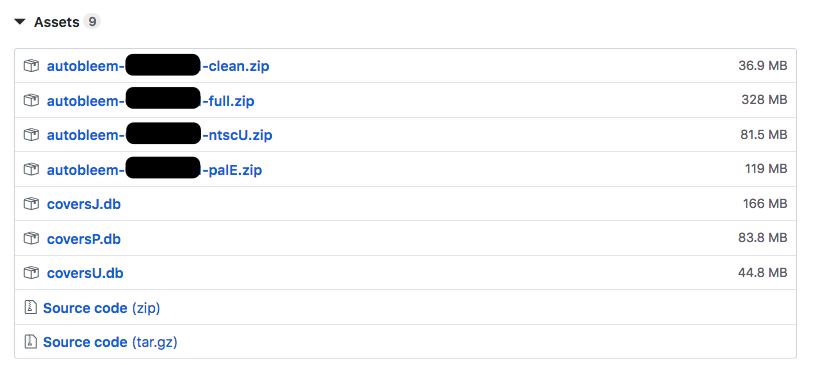
You will notice there are different available versions ending with clean, full, ntscU, and palE. Depending on which version you download, AutoBleem will automatically add the box art for any PS1 games that you add. Clean includes no box arts, full includes all box arts for all regions, ntscU includes all box arts for US region only, and palE includes all box art for Europe region only. So if you are only adding US region games, you should just download the version ending in ntscU.
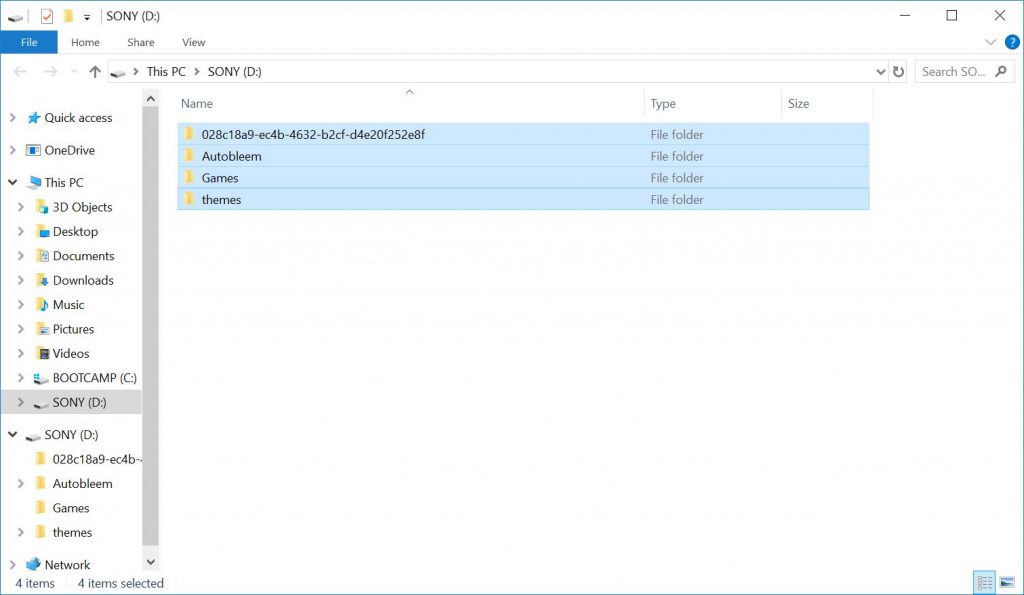
5. Extract the files from the AutoBleem .zip file into your formatted USB flash drive.
The AutoBleem setup to the USB drive is complete. We will now proceed with the tutorial on how to add more PS1 games to the PlayStation Classic.
Adding More PS1 Games
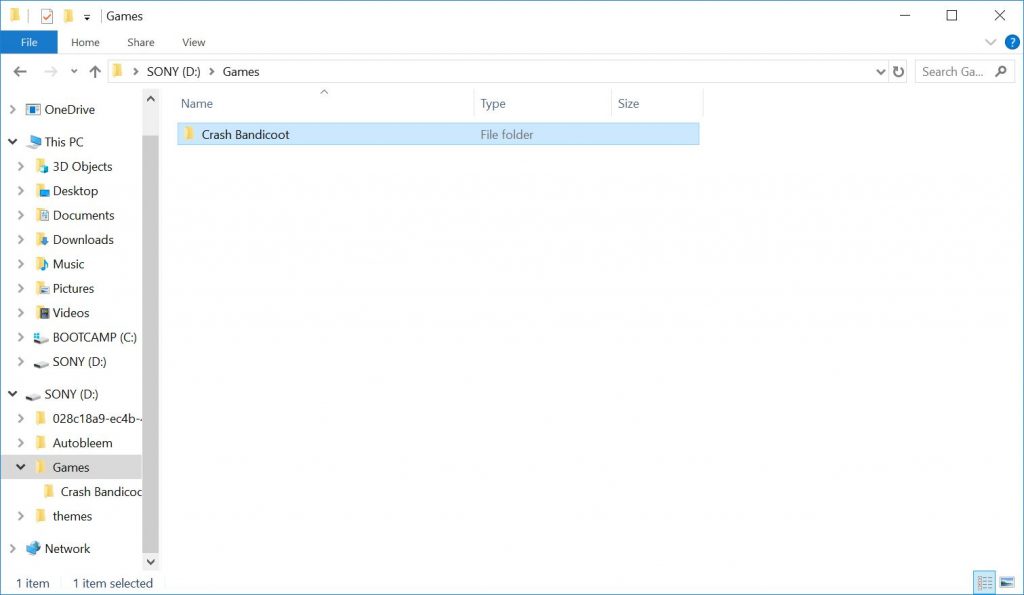
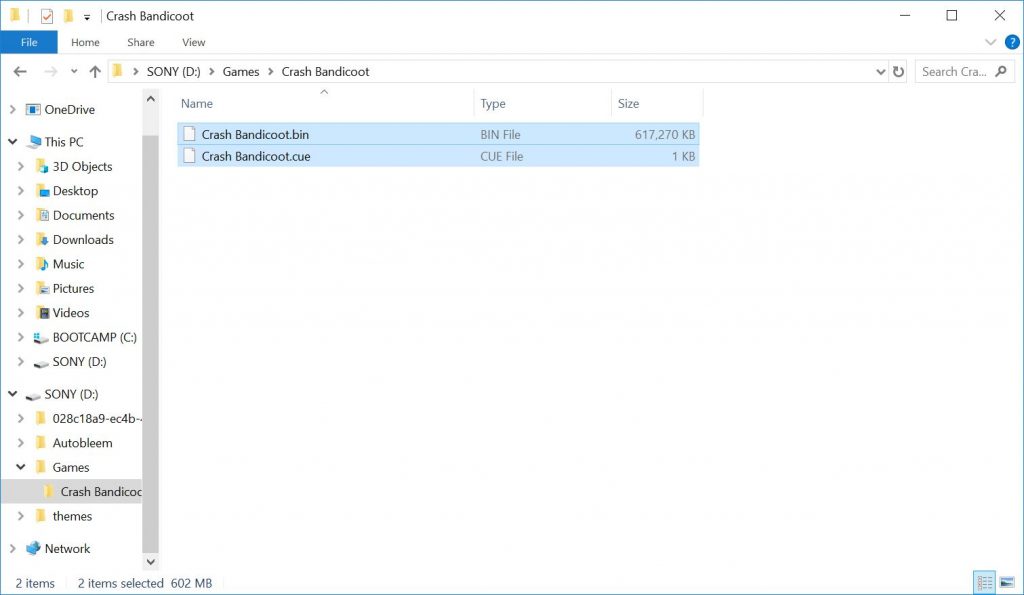
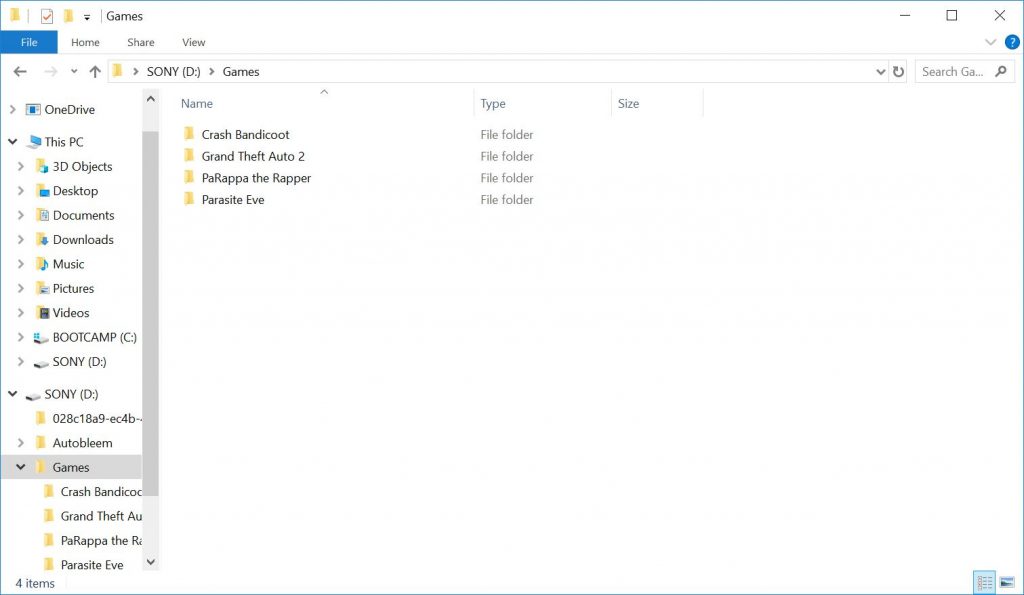
1. Open the Games folder on your USB drive and create a new folder with the name of the game you are adding.
2. Open the folder and add the game ROM files into the folder – this will be the .bin and .cue files or .pbp files (both formats work).
3. You can add more games by repeating steps 2 & 3. This is also how you will add more games in the future.
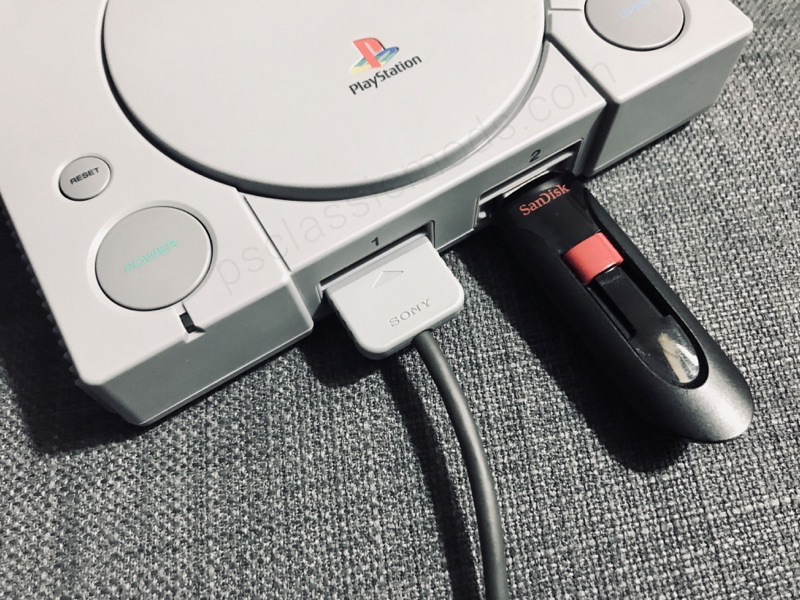
4. We can now test it out. Safely disconnect the USB flash drive from your computer. If this is the first time running AutoBleem on your console, you will need to disconnect the power cable first, then connect the USB flash drive to the second controller port, reconnect the power cable, and turn it on when the light on the console turns orange. You only need to power cycle the console the first time.
AutoBleem should load. Press X to scan for added games.

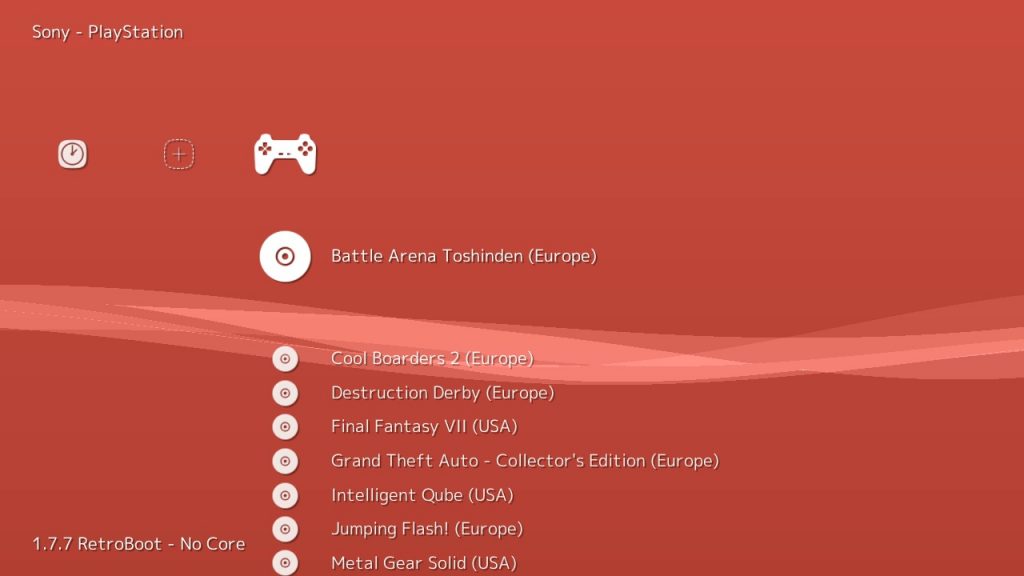
On the main menu, press Start to access your PS1 games.
You should see all of your original games and added games.

Our next tutorial will show you how to add and play games from other consoles including the NES, SNES, Sega Genesis, Sega Dreamcast, PSP, Game Boy, Game Boy Advance, Nintendo DS, MAME, Neo Geo, and more.
Adding Games from Other Consoles
1. Download the RetroBoot for AutoBleem .zip here.
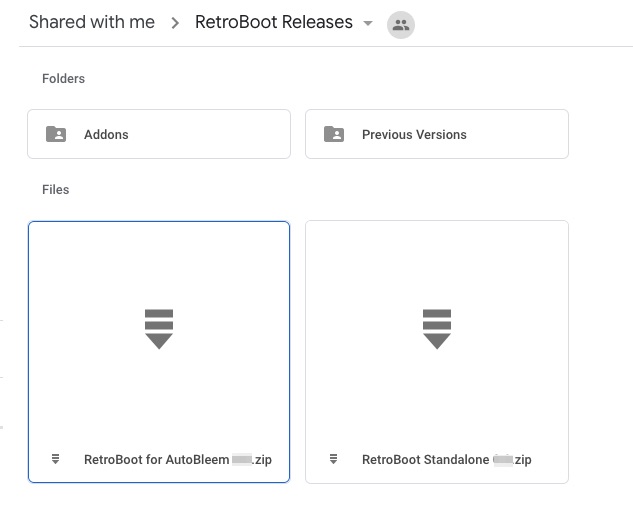
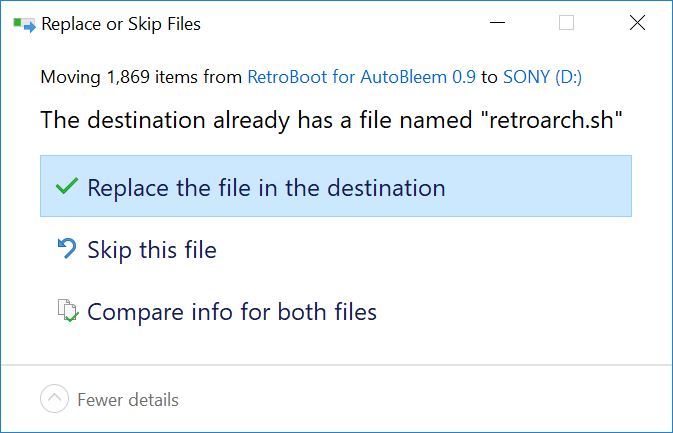
2. Extract the contents to the root of your USB flash drive.
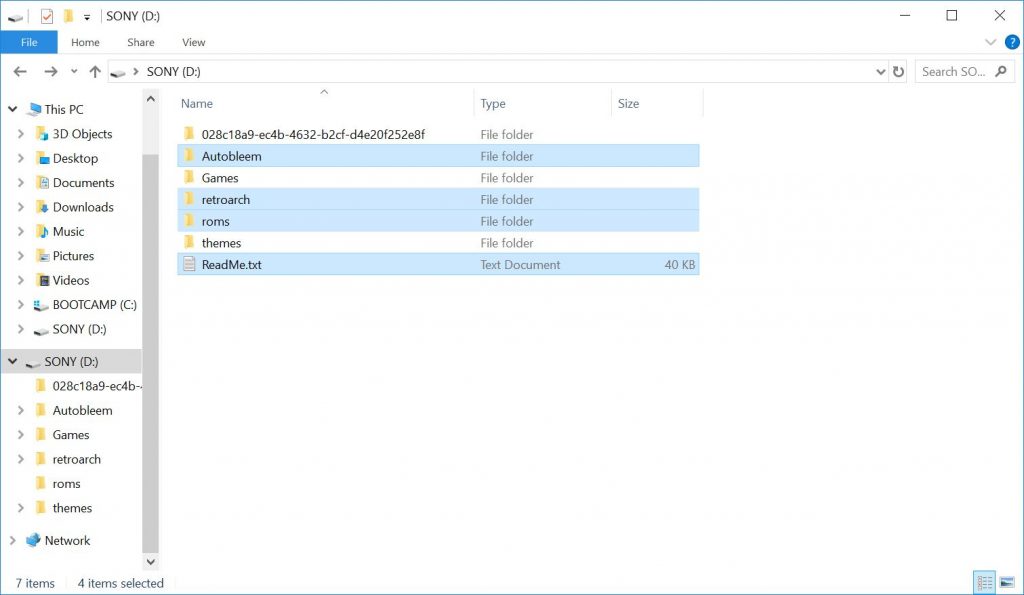
If asked, replace any duplicate files in the destination.
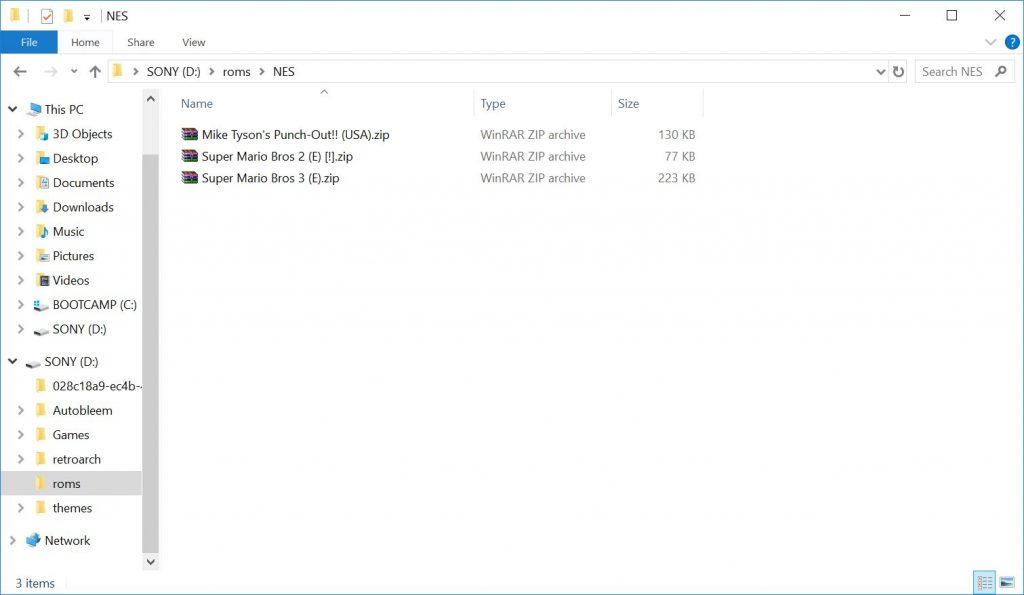
3. Open the roms folder and create a new folder for each console of the game you will add (example: create a folder named “N64” if you are adding a Nintendo 64 game).

4. Add ROM files to appropriate folders (example: all Nintendo ROMs in NES folder).
5. Now safely disconnect the USB flash drive from your computer. If this is the first time running AutoBleem on your console, you will need to disconnect the power cable first, then connect the USB flash drive to the second controller port, reconnect the power cable, and turn it on when the light on the console turns orange. You only need to power cycle the console the first time.
6. On the main menu, press Square to launch RetroArch.
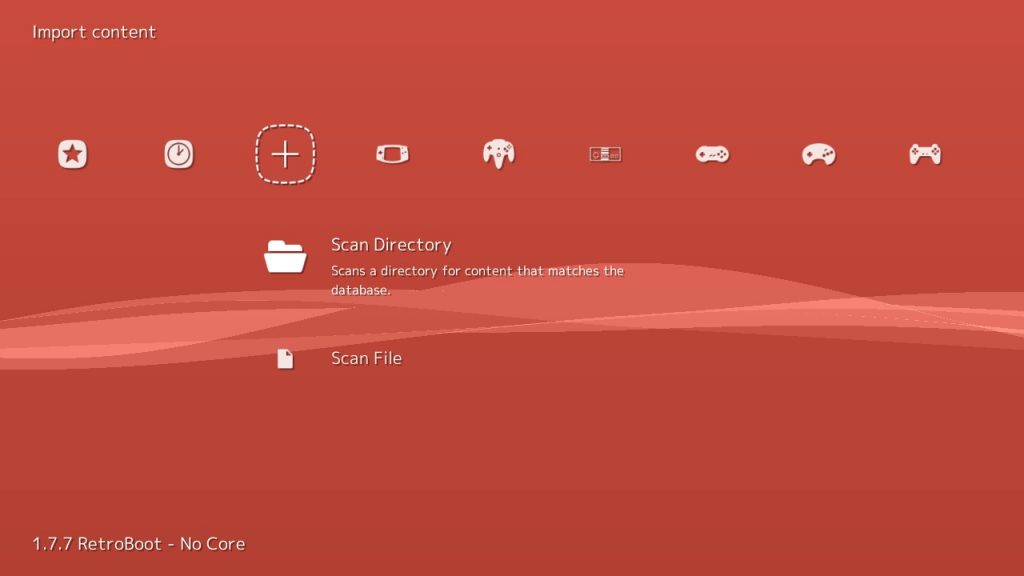
7. RetroArch will launch. You will now need to scan for the additional games you added. Go right to the + icon and press X on the controller to Scan Directory.
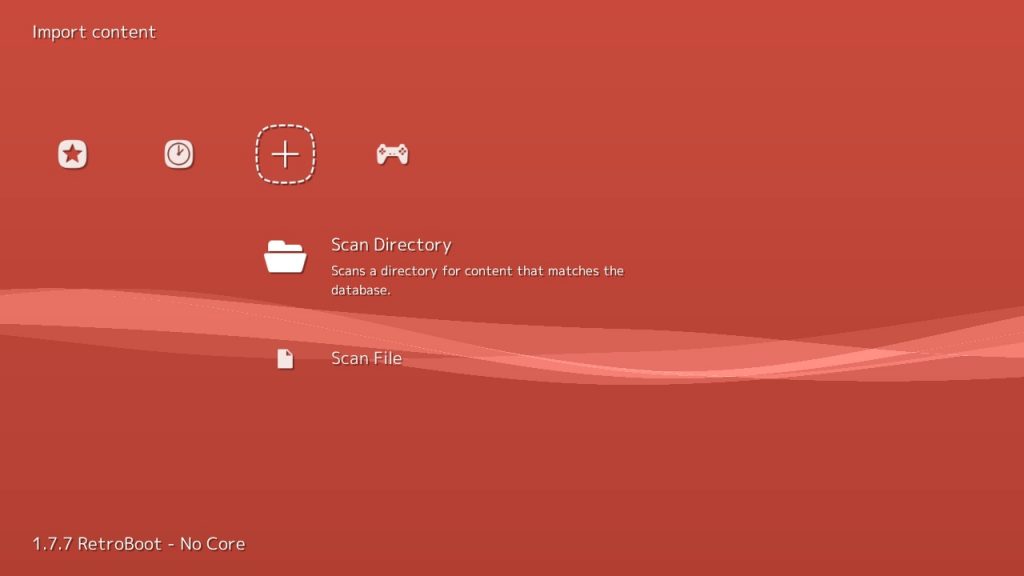
8. You should see the console folders listed. Press X on the controller to <Scan This Directory>.
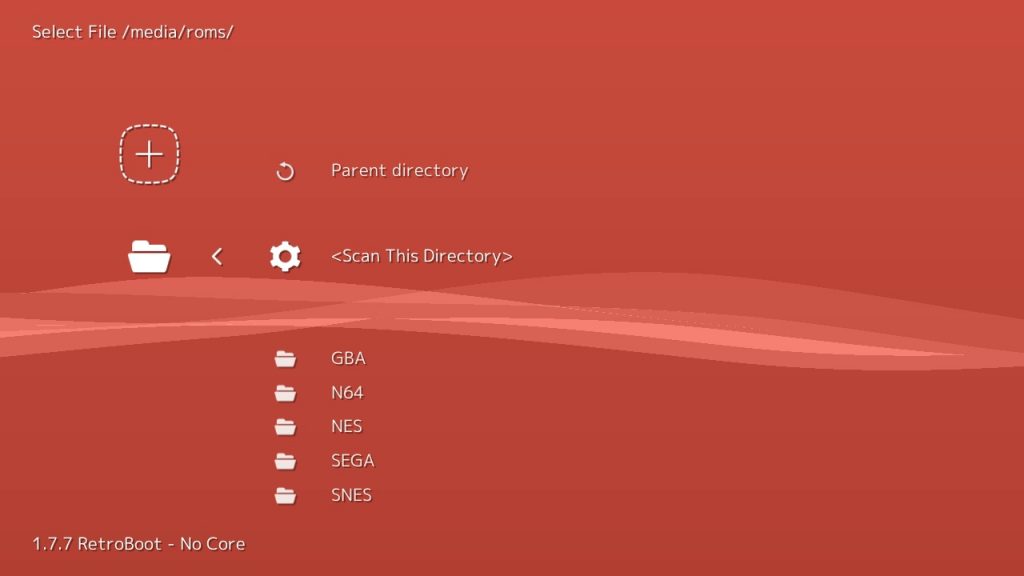
9. It will begin scanning. Once it is done, you can go back and you should see all of the console icons.
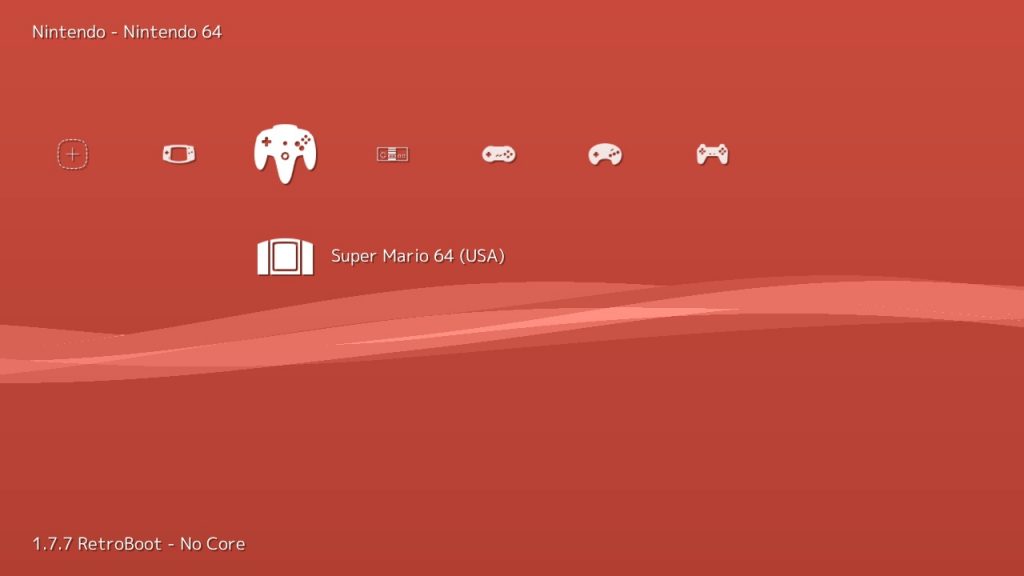
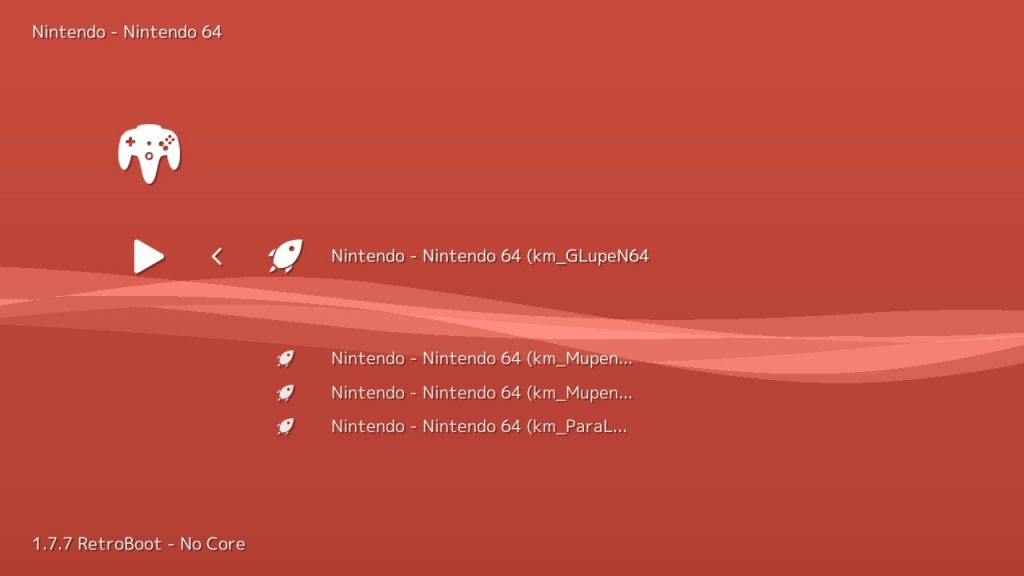
10. Each of the games will be under the specific console. To launch a game, first select it.
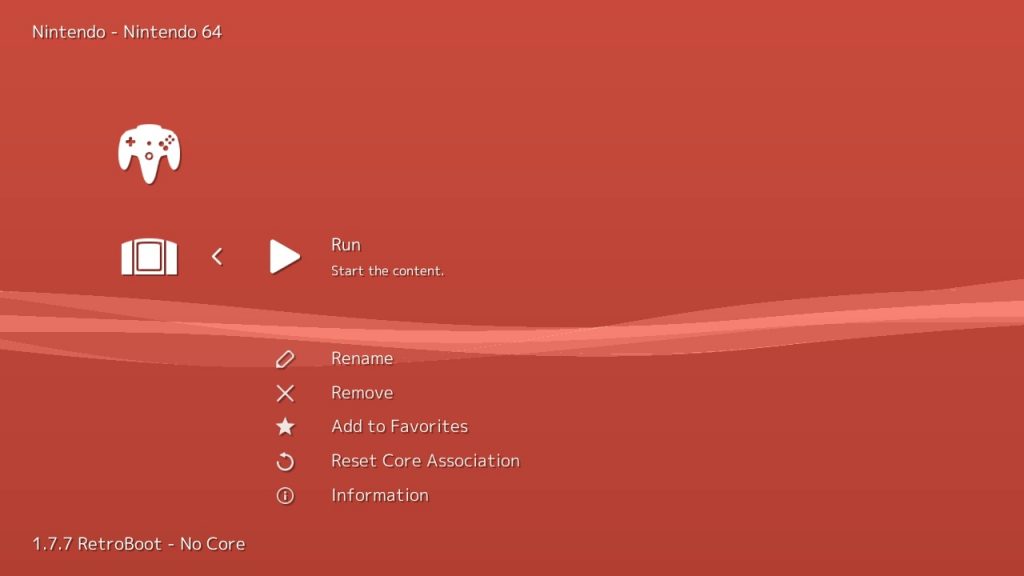
11. Press Run.
12. If this is your first time running the game, you will need to select a core that matches the console. Try a core that is intended for the console and if you run into any problems you can try a different core.
13. Now hit Run.
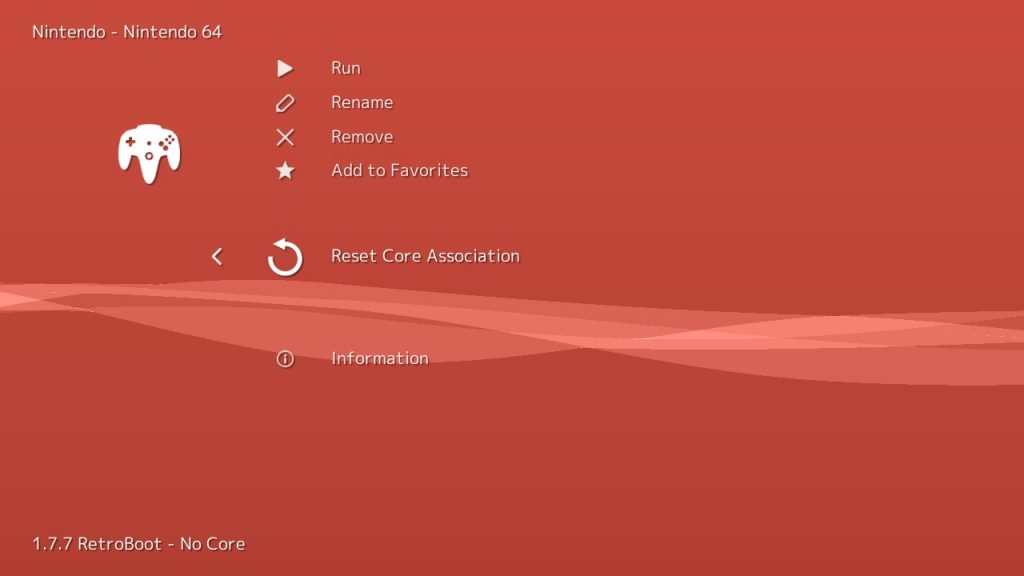
If there are any problems running the game, we recommend that you try another core. To do this, select the game, and go to Reset Core Association. This will allow you to select a different core to run that game.
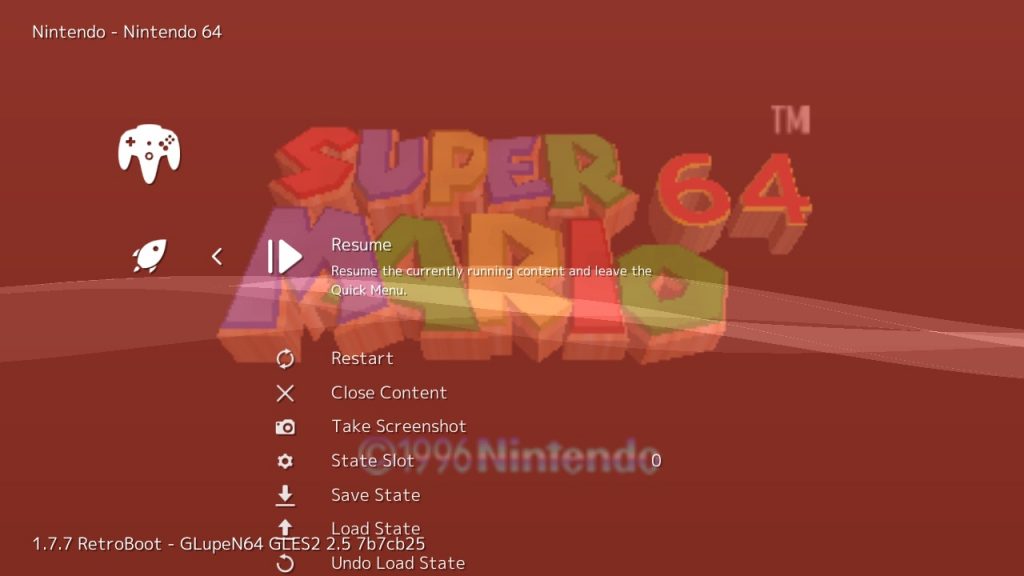
When you playing a game, you can press Start + Select on your controller to access the RetroBoot menu which allows you to restart, quit, save, load, map your controller, and more.
FAQ
Q. How can I play two player games if the USB flash drive is connect to the second controller port?
A. Since modding the PlayStation Classic involves connecting a USB flash drive to the second controller port, you may wonder how to play two-player games while using AutoBleem or RetroBoot? The solution is simple. You connect a USB port in the second controller port which will allow you to connect your second controller and your USB flash drive.
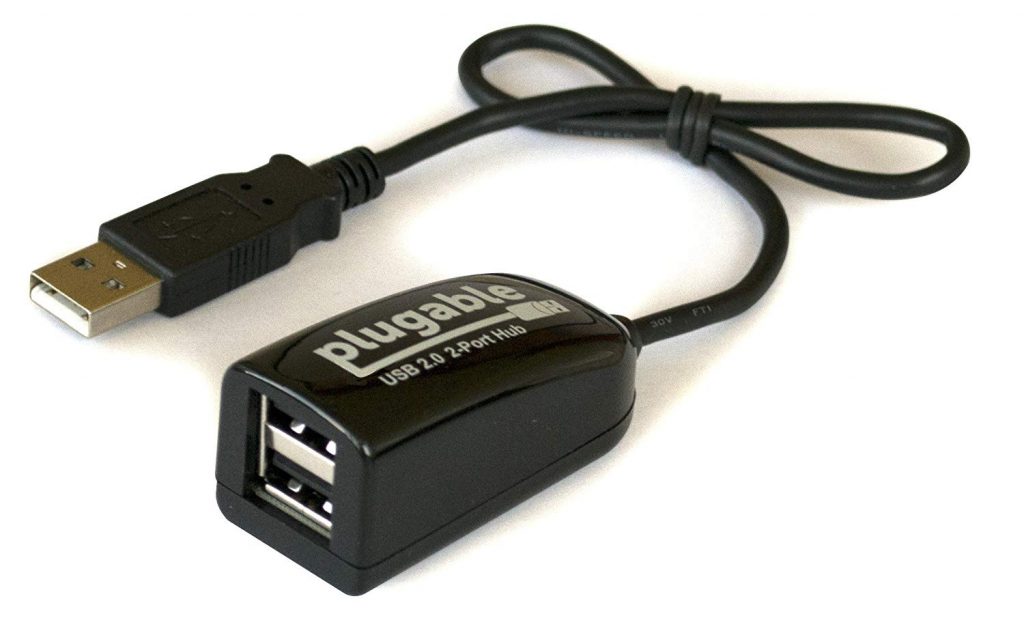
We have tested this one from Amazon and can confirm it works.
If you have any question or comments, please leave a message below.