This complete guide will show you how to install BleemSync to your PlayStation Classic so you can add more games and play games from other consoles like NES, SNES, N64, PSP, Dreamcast, and more. We provide a comprehensive guide on everything you need to now about BleemSync.

Contents
- BleemSync Overview
- Installation
- Adding Artwork to Added PS1 Games
- Adding more PS1 games
- Adding games from other consoles
- FAQ
Overview
BleemSync is the most advanced tool out of the three (compared to AutoBleem and RetroBoot), however it is also more complicated to install. It does make changes to the internal files of the console but because of this it allows support of all USB flash drives and also OTG adapters. An OTG adapter allows you to connect your USB drive (containing all of your game files and mods) into the micro-usb port in the back of your console thus freeing the second controller port which is where you would normally connect the USB drive.
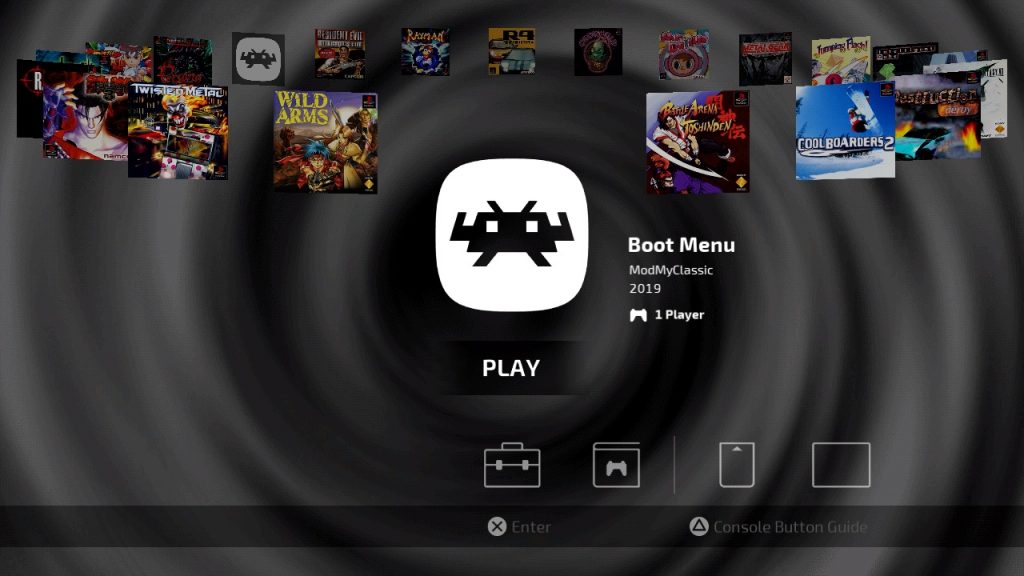
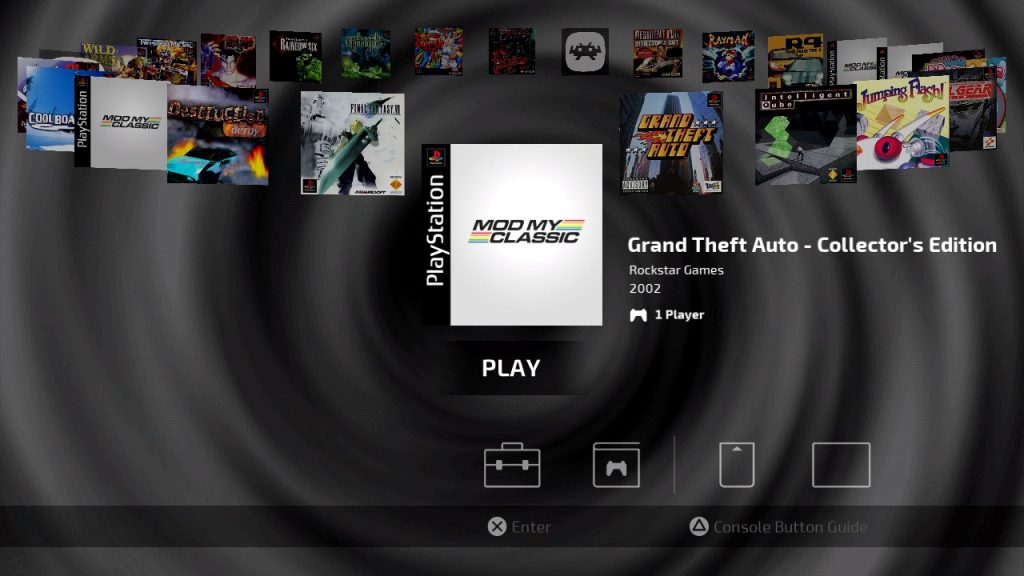
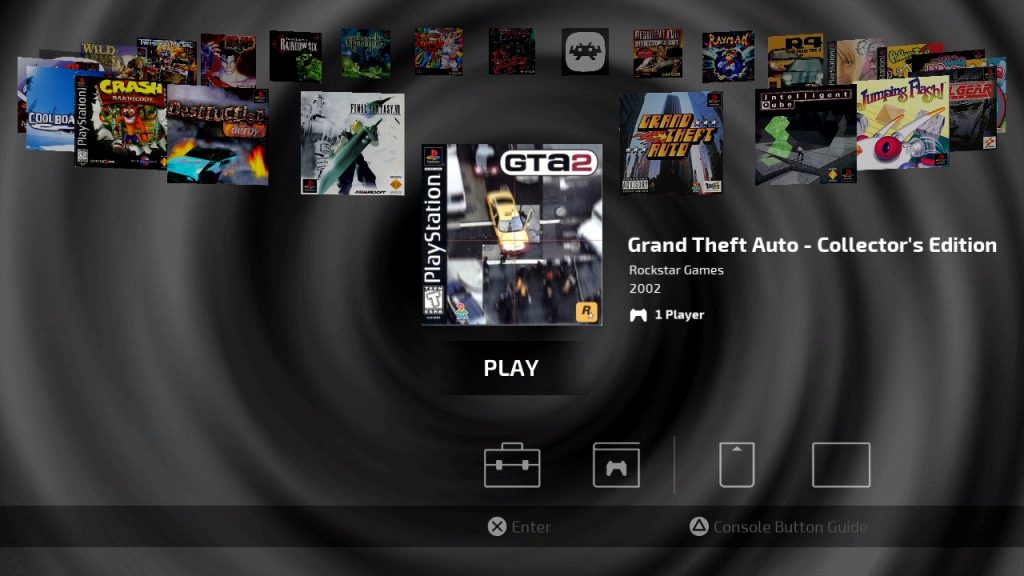
BleemSync uses its own UI which closely matches the original interface (you can also change it to the default theme).
BleemSync uses RetroArch to run games from other consoles. You can open RetroArch from the main menu.
First, we will show you how to install BleemSync to your PlayStation Classic. The setup can be done on both a Windows or Mac computer. In this tutorial I will be using a Windows computer but the overall setup is the same with a Mac.
Installation
The installation process is a little bit more complicated than AutoBleem and RetroBoot, so make sure you carefully follow the instructions completely.
During the first part the installation, you will need to make sure you are using a compatible USB flash drive to install BleemSync to your PlayStation Classic. Most low power USB flash drive works. We recommend using an USB 2.0 flash drive with low storage like 32gb and lower just for the installation part. Once BleemSync is installed, you can use any USB flash drive (including USB 3.0 and high storage drives) to add games to the console.
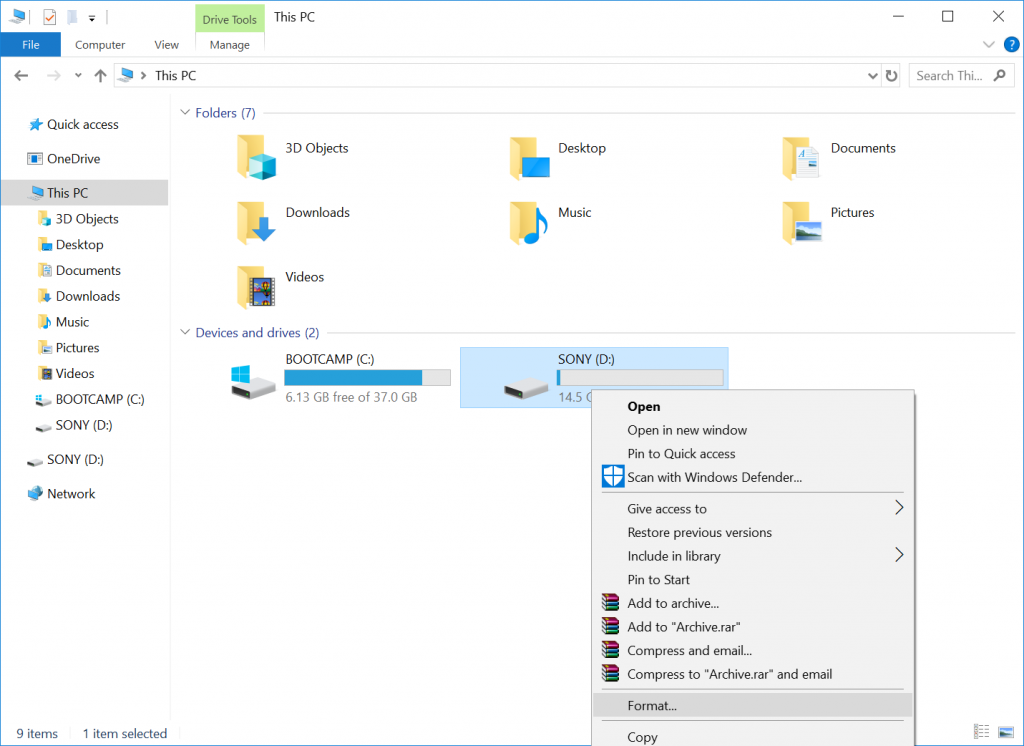
1. First, you will format the USB flash drive. Connect it to your computer, locate the drive, right-click it, and press Format…
2. Select FAT32 (Default) for the File system and name the Volume label “SONY” (all caps) then press Start.

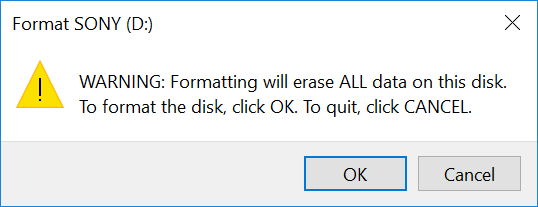
3. Hit OK when prompted to format drive.
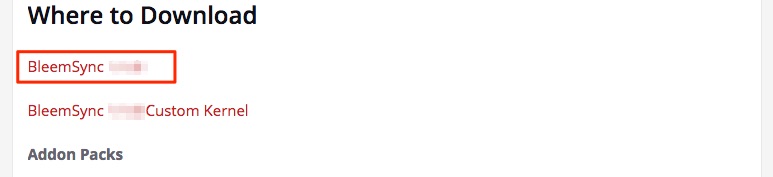
4. After the drive has been successfully formatted, download the latest version of BleemSync here (scroll down to the Where to Download section to download).
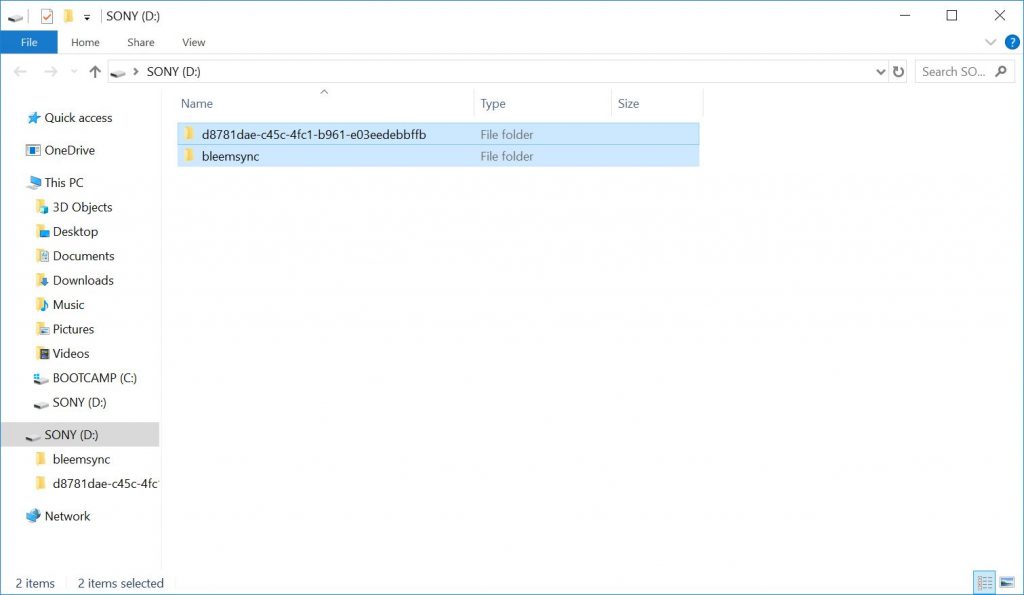
5. Extract the files from the BleemSync .zip file into your formatted USB drive.
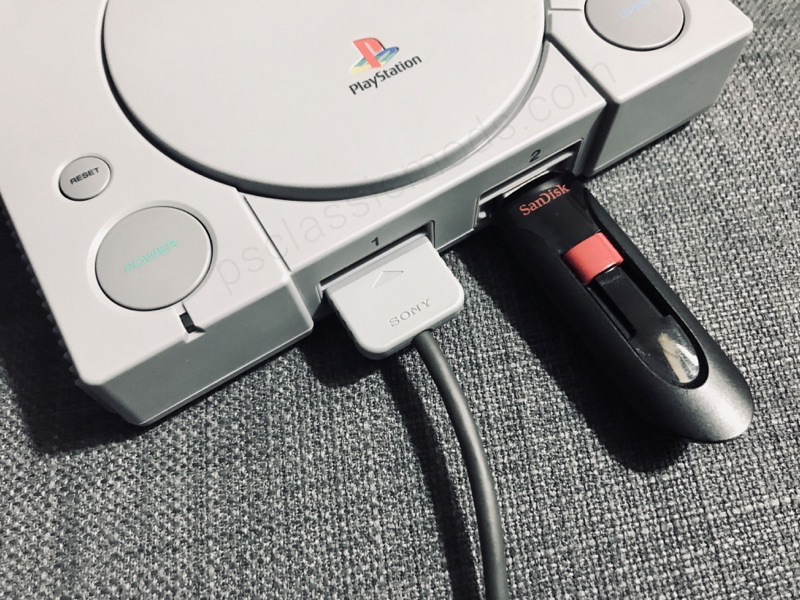
6. Safely disconnect the USB drive from your computer. Now disconnect the power cable on your PlayStation Classic, then connect the USB flash drive to the second controller port, reconnect the power cable, and when the light on the console turns orange turn on the console.
BleemSync should launch and start installing.

7. After the process is complete, you will see the following screen and the console should shut down. After the console is off and you see the orange light on the console, remove the USB drive from the controller port.

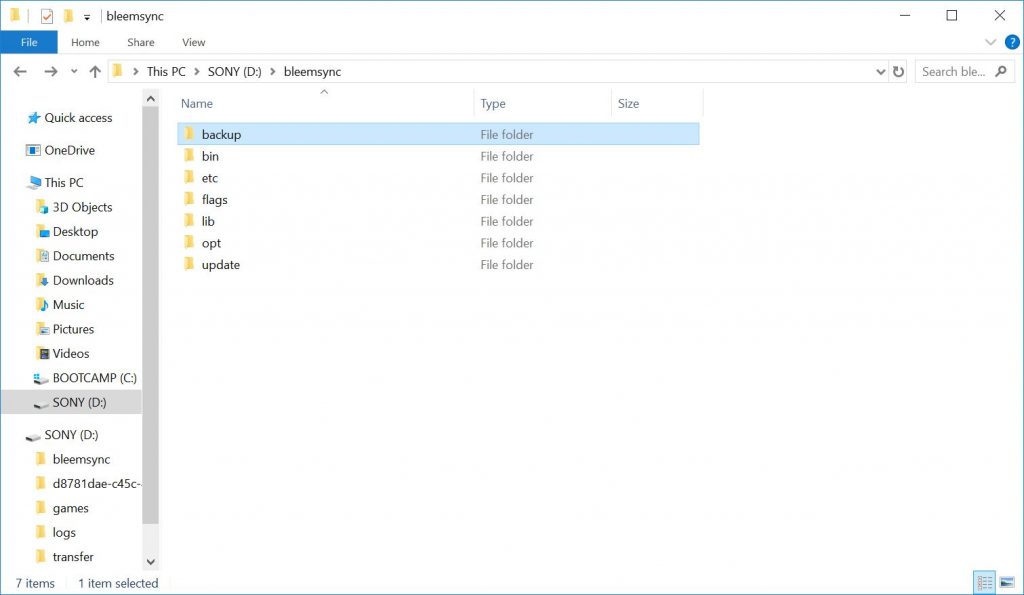
8. Connect the USB drive back onto your computer and go to bleemsync > backup. Make a copy of this folder and keep it somewhere safe. These are the backup files of the console and can be used to restore the console to factory settings if any problems arises. Please make sure you do not remove the backup folder from the USB drive; simply make a copy of it onto your computer and keep it somewhere safe.
9. Download the BleemSync Custom Kernel here (scroll down to the Where to Download section to download).
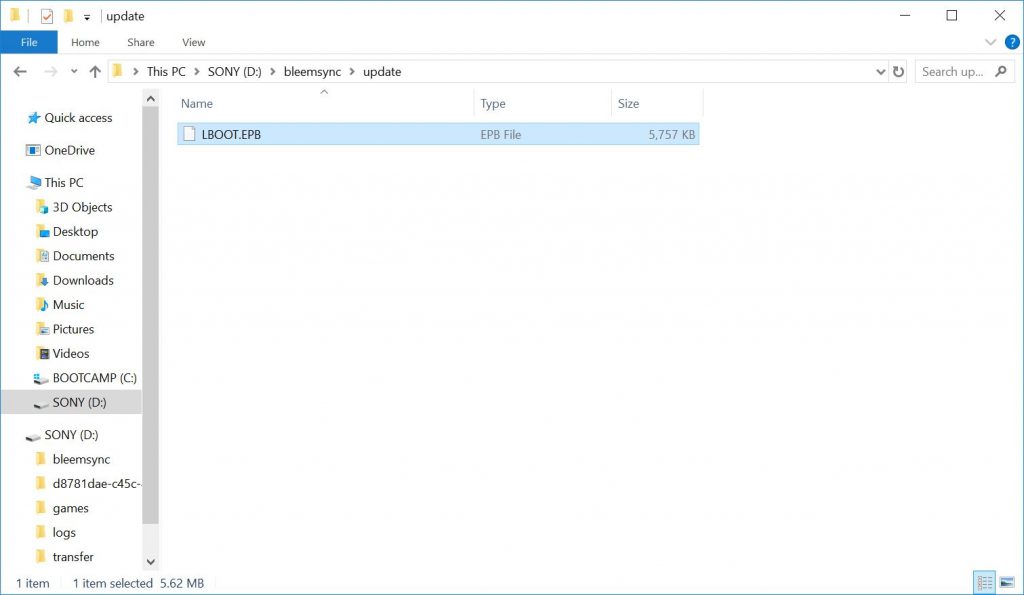
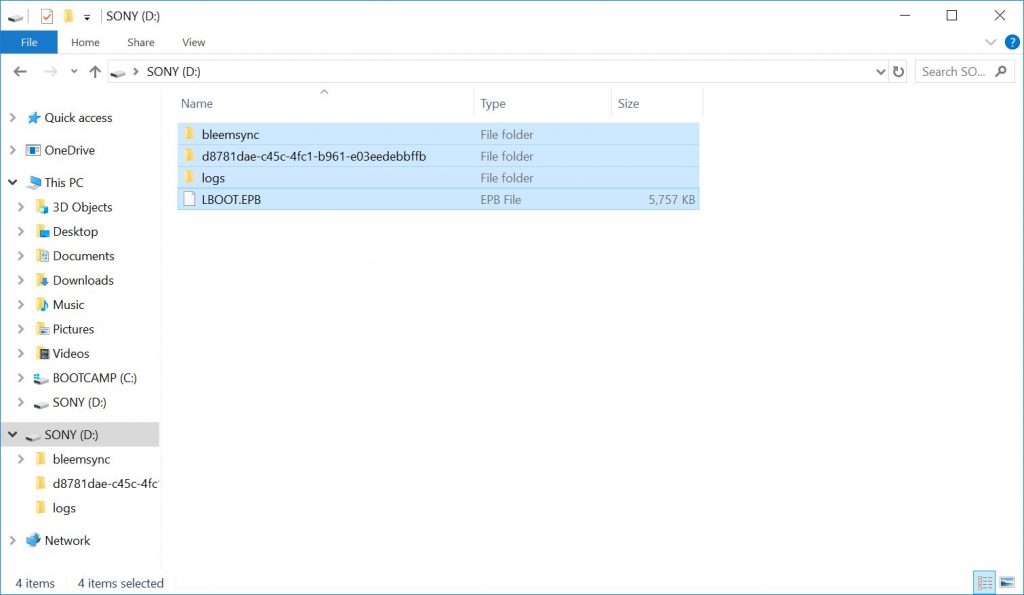
10. On the USB drive, open the bleemsync folder and place the LBOOT.EPB file inside the update folder.
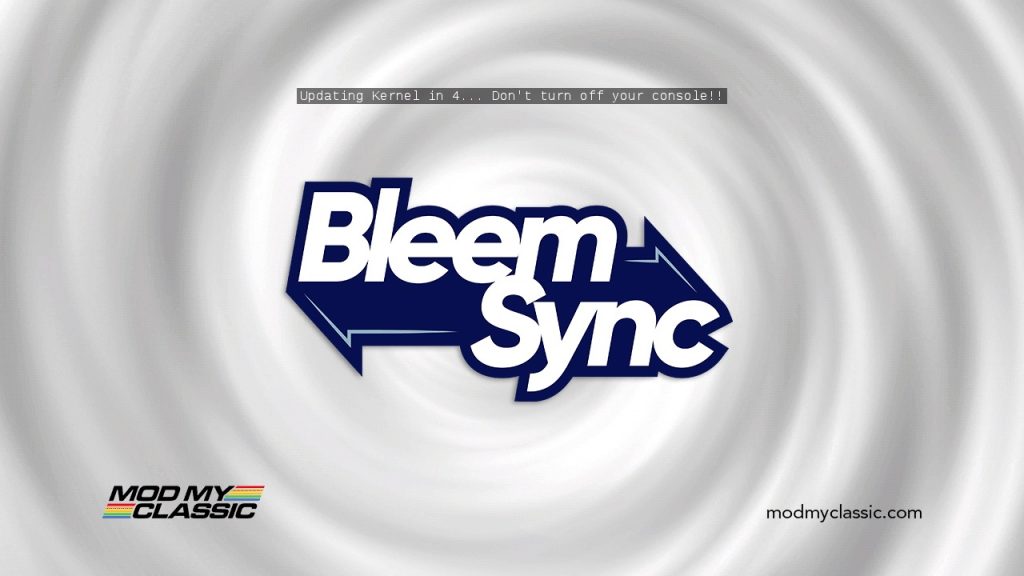
11. Safely disconnect the USB drive from your computer. Now disconnect the power cable on your PlayStation Classic, then connect the USB flash drive to the second controller port, reconnect the power cable, and when the light on the console turns orange turn on the console.
12. The custom kernel will begin installing and then the console will automatically shut off. After the console is off and you see the orange light on the console, remove the USB drive from the controller port.
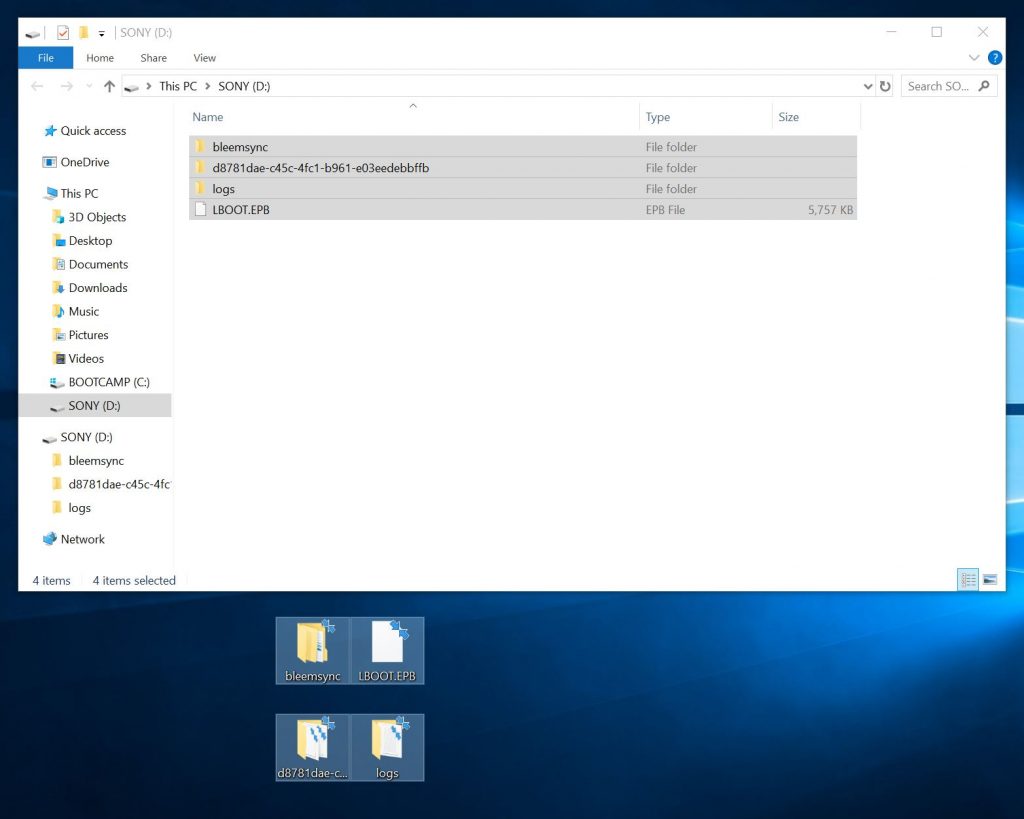
13. The basic installation is complete. You can now use a different USB drive with more storage or you can use the same USB drive to add games to the console. Copy the contents of the flash drive to your computer.
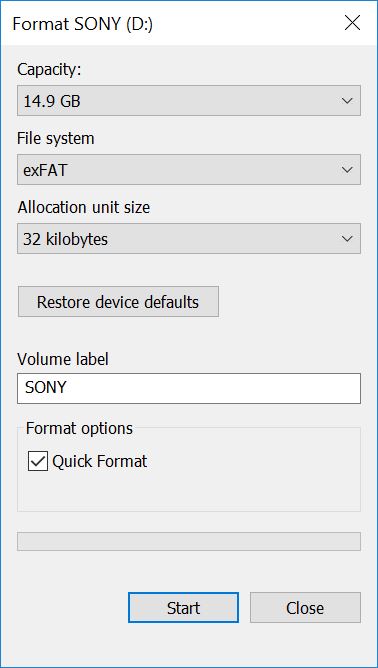
14. We will now need to format the USB drive to NTFS or exFAT. Connect the USB drive to your computer, locate the drive, right-click it, and press Format…
15. Select NTFS or exFAT for the File system and name the Volume label “SONY” (all caps) then press Start.
16. Hit OK when prompted to format drive.
17. Copy all of the contents (from step 13) back to the USB drive.
18. We need to run BleemSync once before we can add games. So safely disconnect the USB drive from your computer, remove the power cable from your console, and connect the USB drive to your console. You can now use an OTG adapter to connect the USB drive or you can continue to connect it to the second controller port. Now connect the power cable and turn on your console.
Turn off the console and when the light is orange you can safely remove the USB drive. You are now ready to add games.
Adding Artwork to Added PS1 Games
You should complete this before adding more PlayStation games if you want BleemSync to automatically add the artwork to new games. BleemSync does not include the artwork for any added PlayStation games. You can download the artwork database and add it to your console so that any PlayStation games you add will automatically have the artwork displayed.
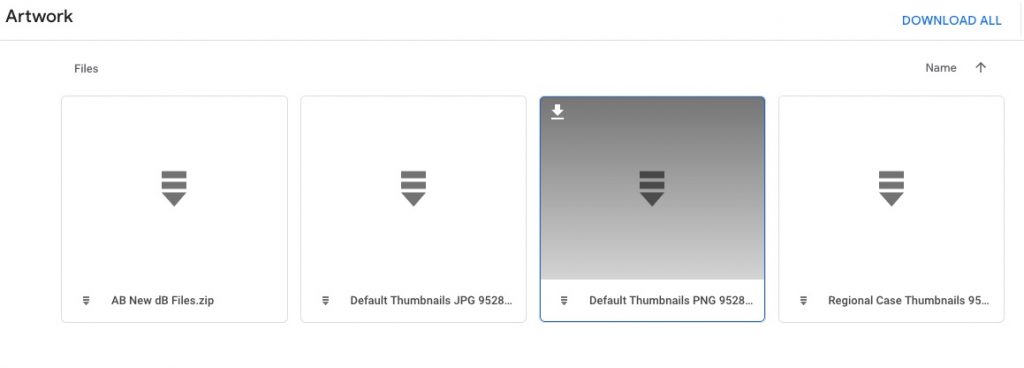
1. Download the Default Thumbnails PNG .zip file here and extract it to your computer. (Currently, only the PNG files will work. It’s a huge download – over 1gb.)
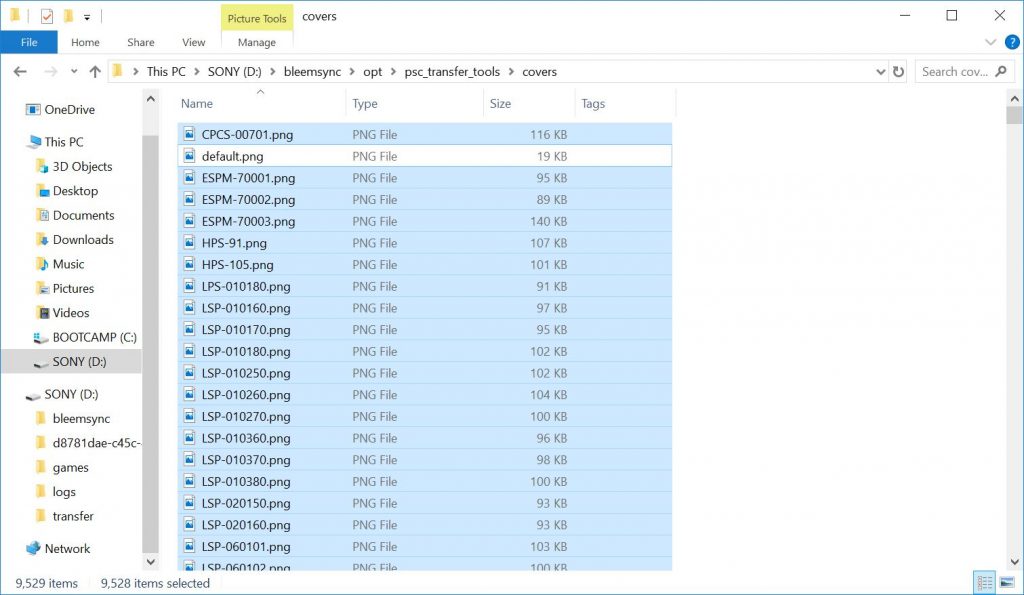
2. Extract all of the image files from the Covers folder (extracted from step 1) to bleemsync > opt > psc_transfer_tools > covers on your USB drive.
3. That’s it. Safely disconnect the USB drive from your computer and connect it to your PlayStation Classic. All of the new PlayStation 1 games you add to the console will now automatically have their artwork.
Adding More PS1 Games
We will now show you how to add more PS1 games to your PlayStation Classic. We recommend you follow the previous tutorial to automatically add artwork to your added PS1 games if you haven’t completed it already. Now let’s begin.
1. Open the transfer folder on your USB drive and add your ROM files (.iso, .bin & .cue, .pbp, or .img format all works) into the folder.
![]()
2. Safely disconnect the USB drive from your computer and connect it to your PlayStation Classic. All of the added PS1 games should be available in BleemSync.
Adding Games from Other Consoles
This tutorial will show you how to setup RetroArch on BleemSync so you can play games from other consoles on your PlayStation Classic like the NES, SNES, Sega Genesis, Sega Dreamcast, PSP, Game Boy, Game Boy Advance, Nintendo DS, MAME, Neo Geo, and more.
1. Download the database-rdb.zip file here. These are the database files that will allow RetroArch to correctly categorize or organize each game you add.
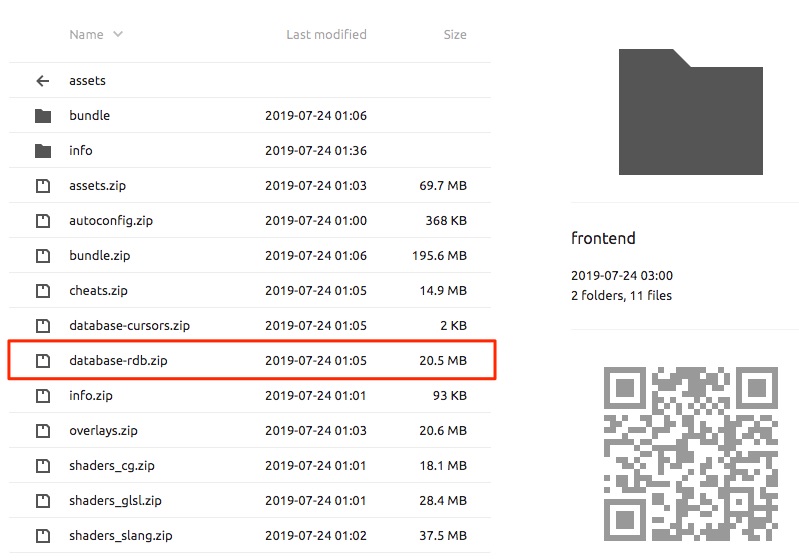
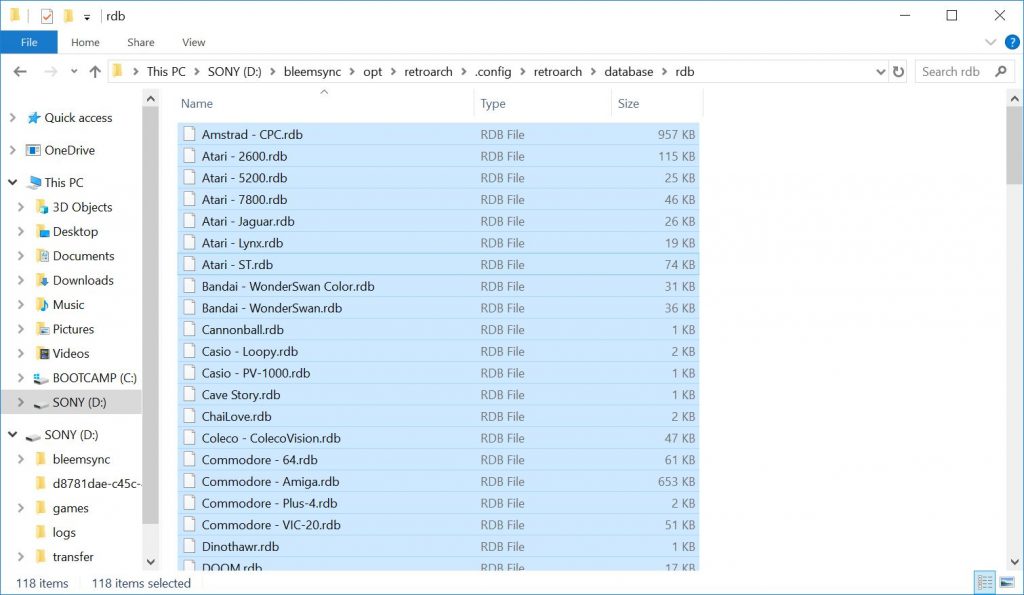
2. Extract all of the .rdb files inside the database-rdb.zip file to the /bleemsync/opt/retroarch/.config/retroarch/database/rdb folder of your USB drive.
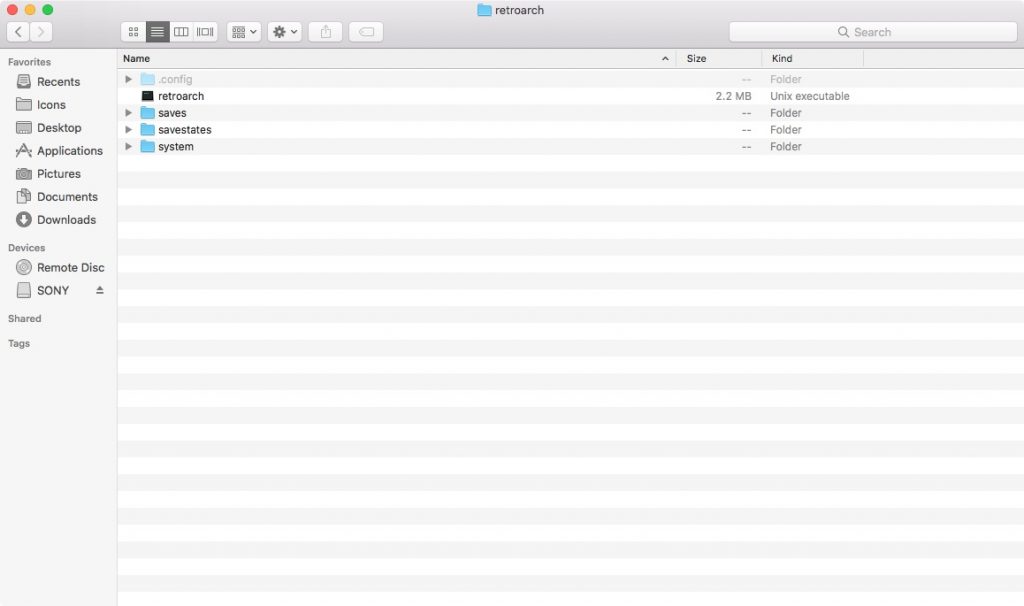
If you are using a Mac, the .config folder may be hidden. Press CMD + SHIFT + . on your keyboard to show hidden files.
3. Download the _all_cores.zip file here. These are the different core files that allows you to play games from different consoles.
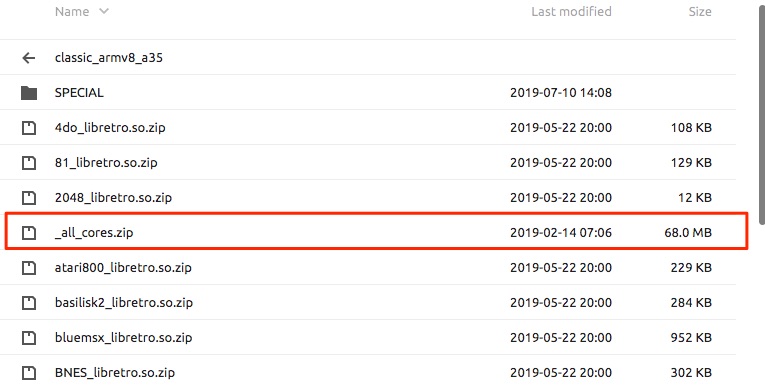
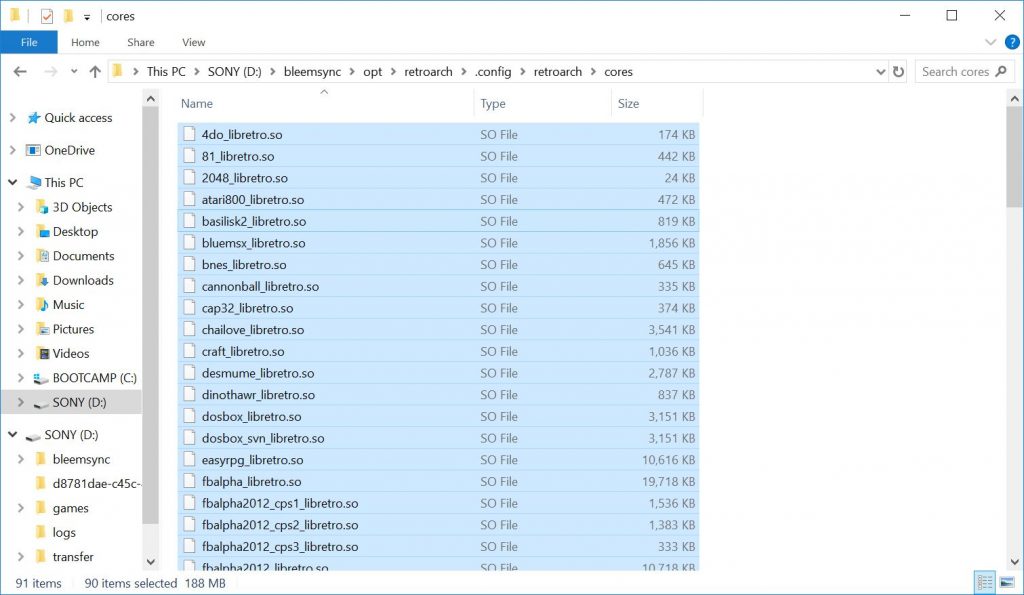
4. Extract all of the .so file from the _all_cores.zip file to the /bleemsync/opt/retroarch/.config/retroarch/cores folder of your USB drive.
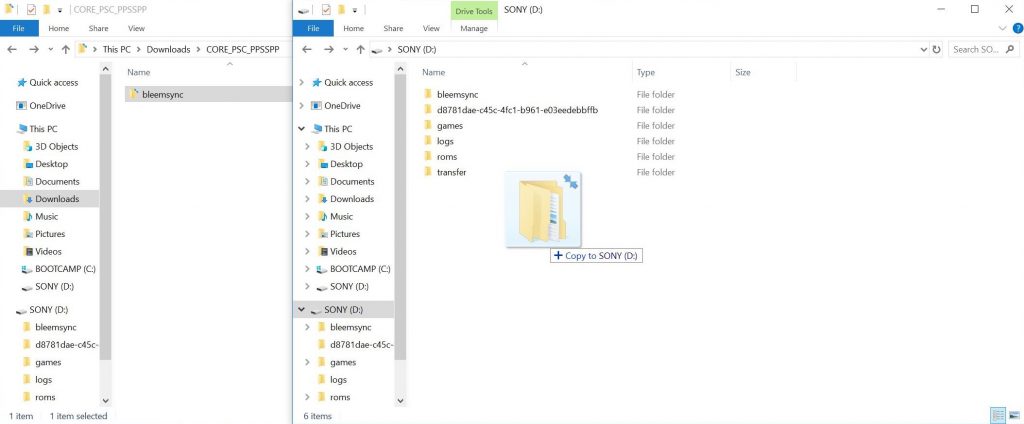
If you want to play PSP games, you will need to complete an additional step. Download the CORE_PSC_PPSSPP.zip file here and extract it to your computer. You should have extracted a folder titled “bleemsync”. Simply drag and drop the extracted bleemsync folder into the root of your USB drive. That’s it.
5. [Optional] Complete this step if you want to automatically add artwork to the games you are adding. Download the thumbnail pack to the console of the games you want to add covers to here.
5a. [Optional] Extract folder from the console thumbnail pack to the /bleemsync/opt/retroarch/.config/retroarch/thumbnails folder on your USB drive.

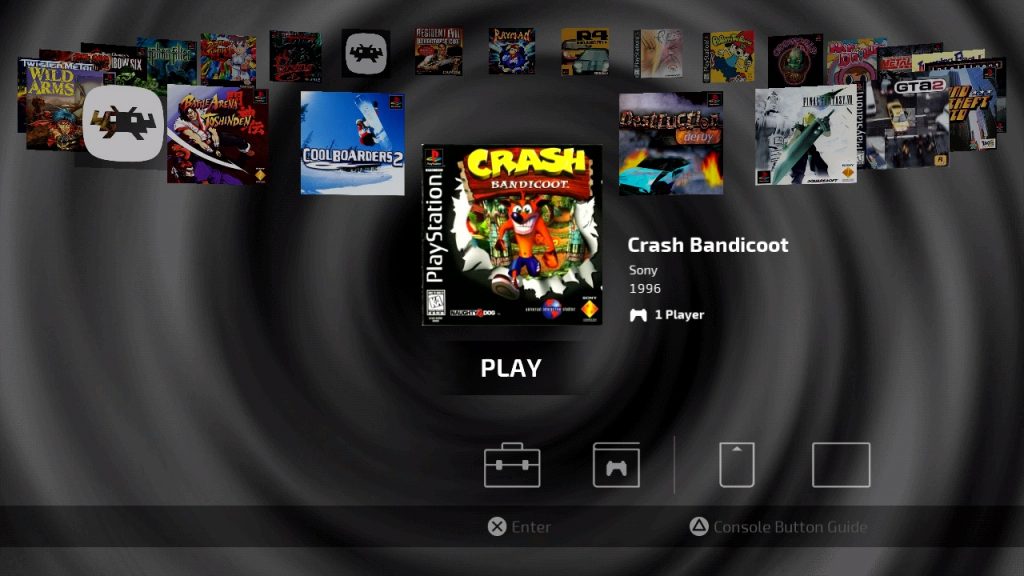
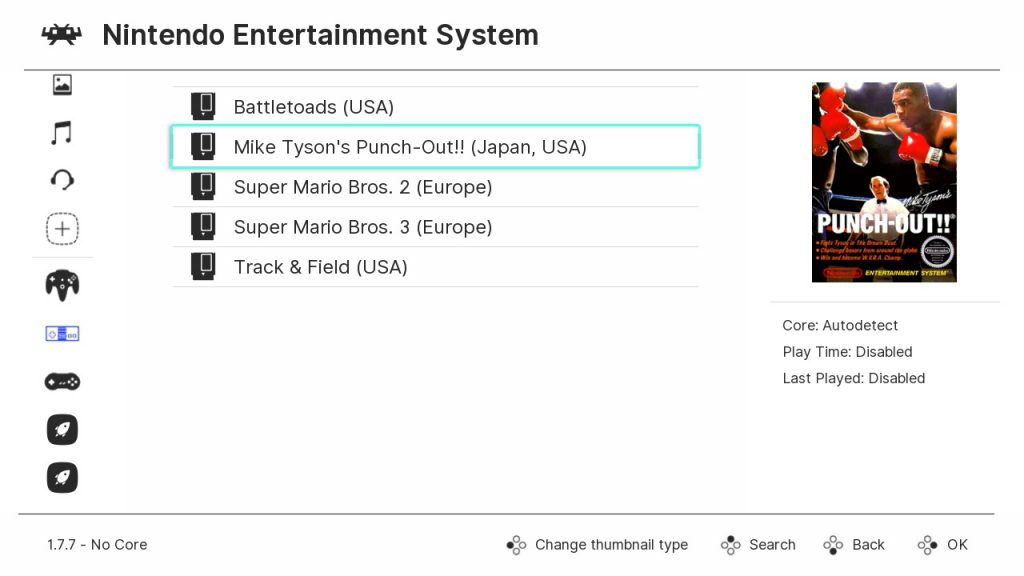
This is what the covers in RetroArch of BleemSync look like:
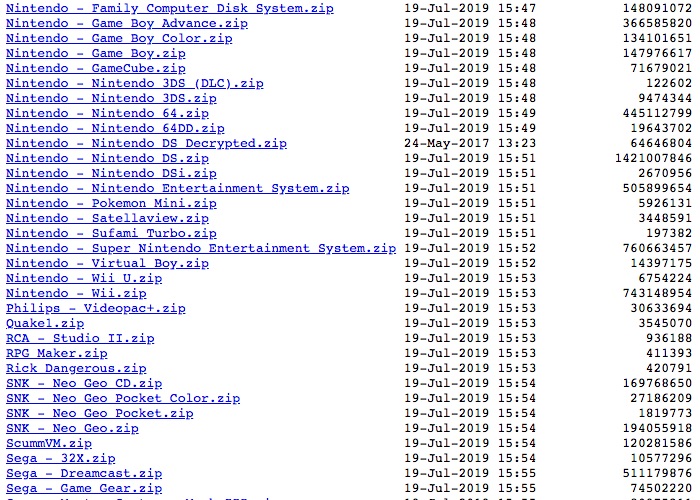
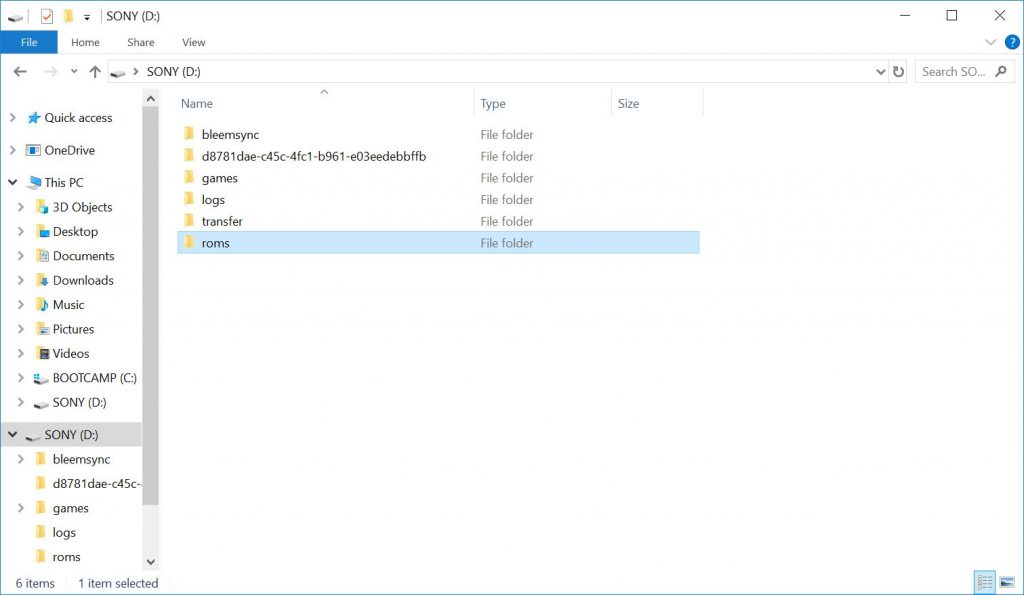
6. Go to the root of your USB drive and create a folder named “roms“.
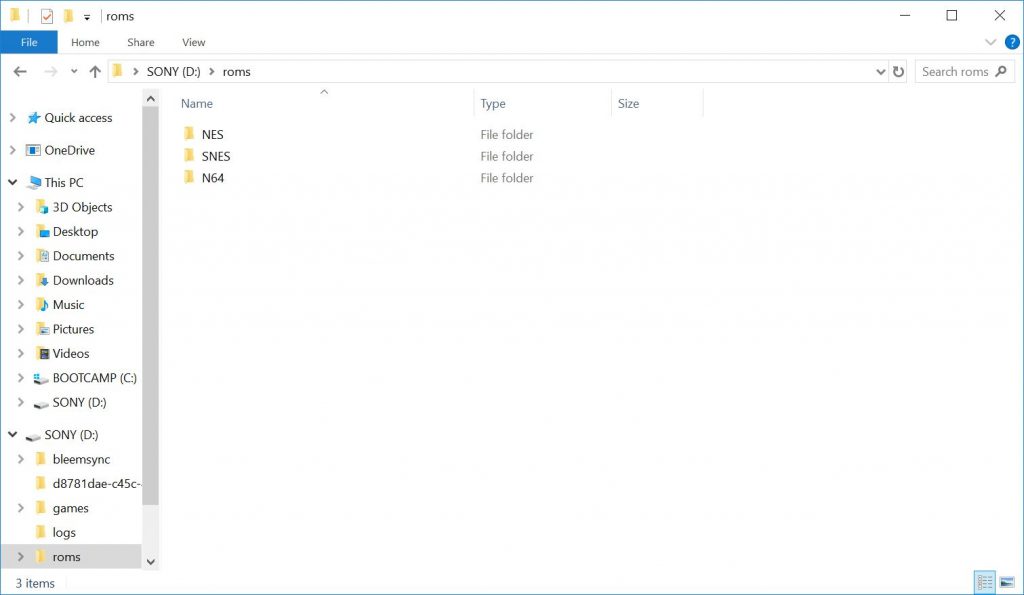
7. Open the roms folder and create a folder for each of the consoles that you will be adding ROMs to.
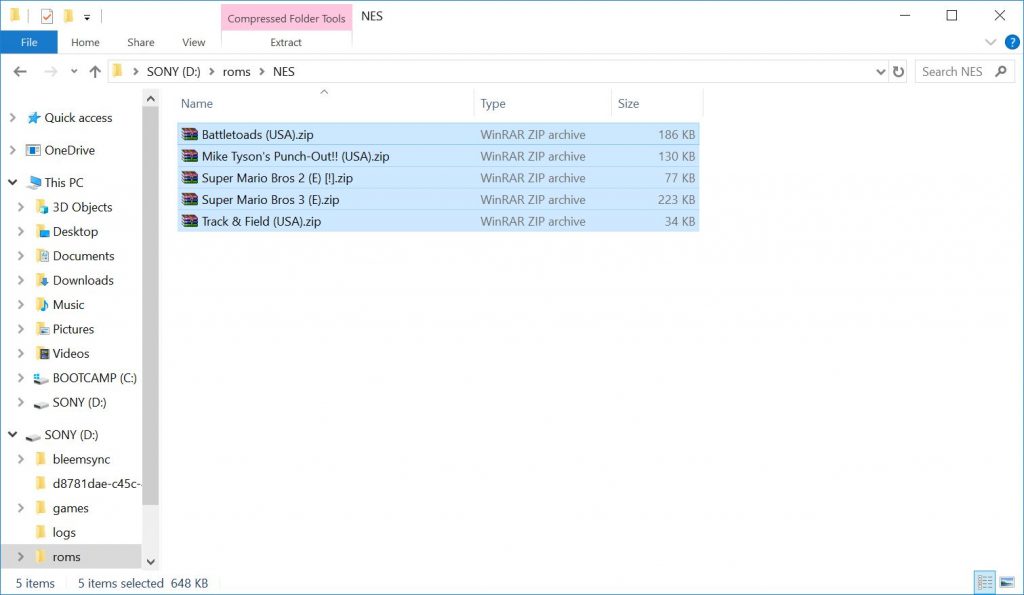
8. Now add your ROMs to the correct console folder.
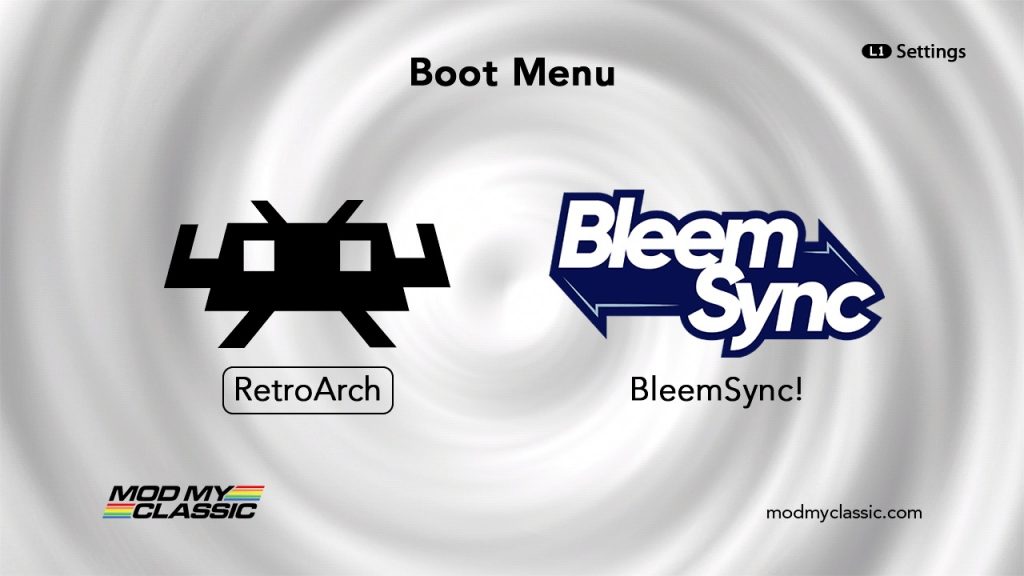
9. Safely remove your USB drive from your computer, connect it to your PlayStation Classic, and turn it on. On the Boot Menu, launch RetroArch.

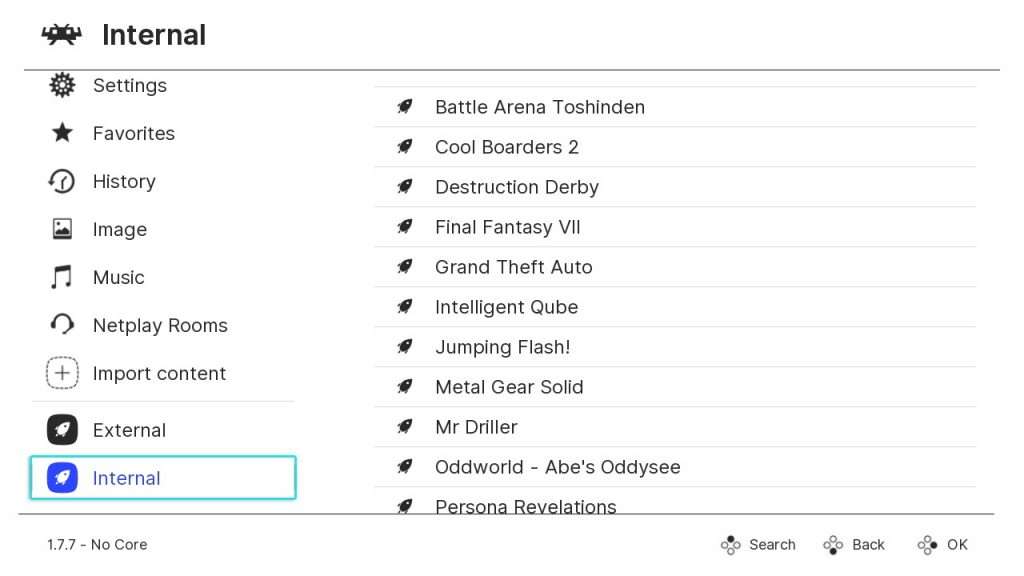
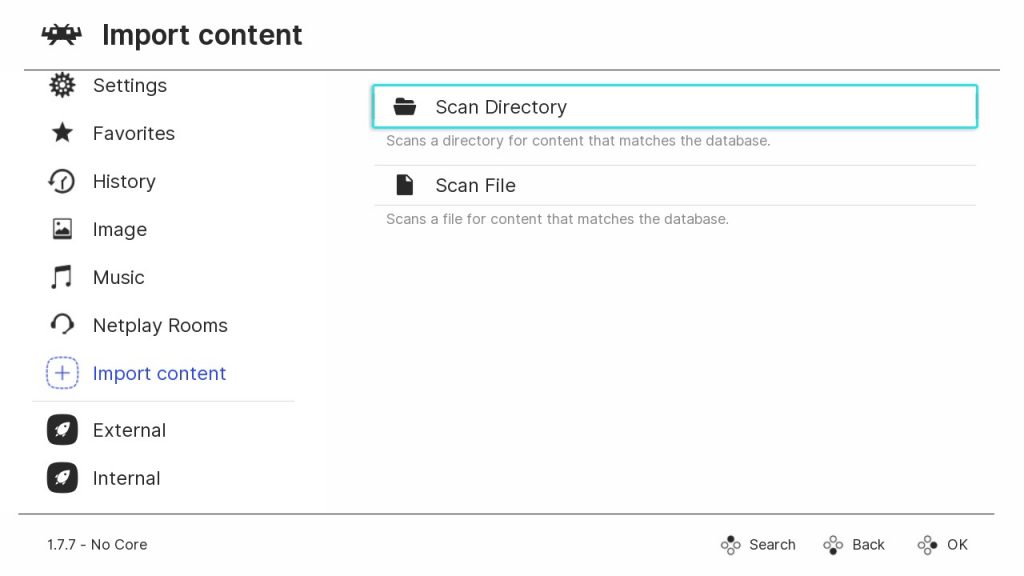
10. Press left on the controller and go down to Import content.
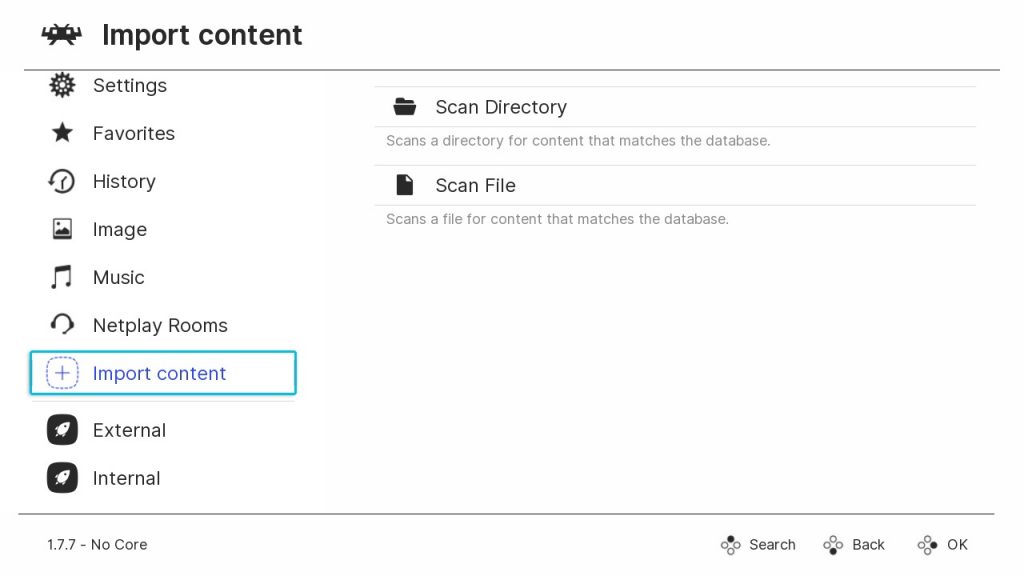
11. Go to Scan Directory.
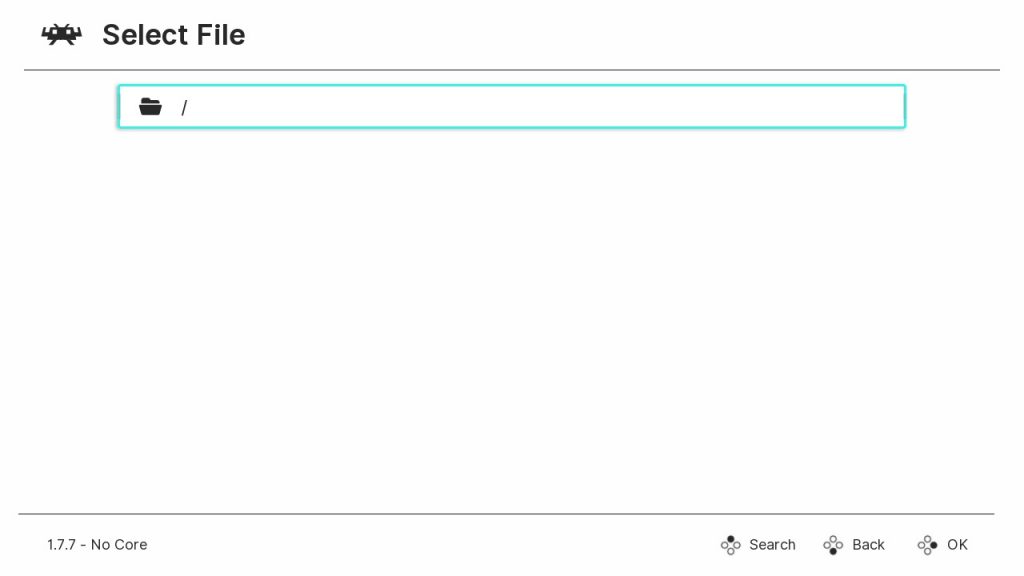
12. Select the / folder.
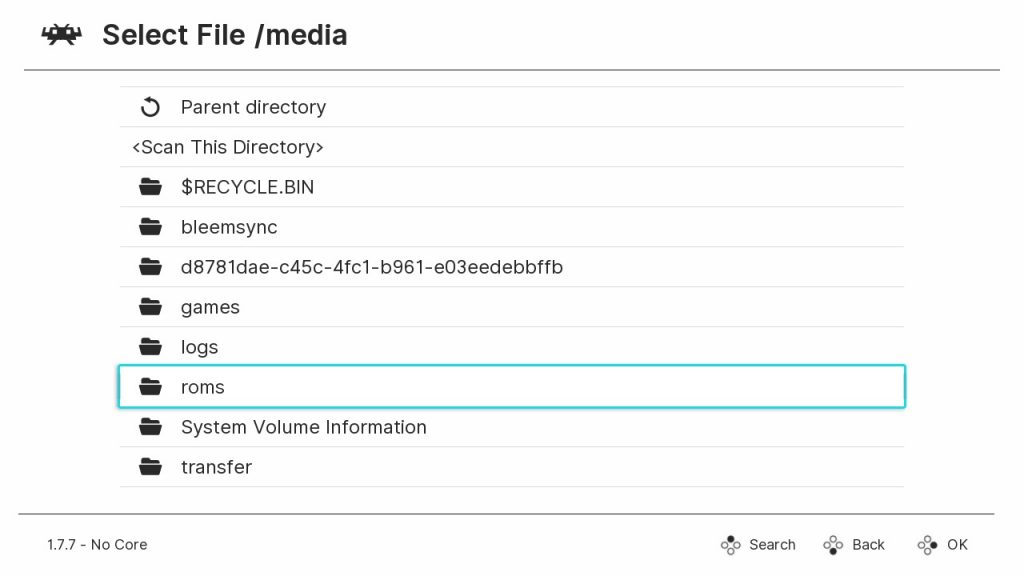
13. Select the media folder.

14. Select the roms folder.
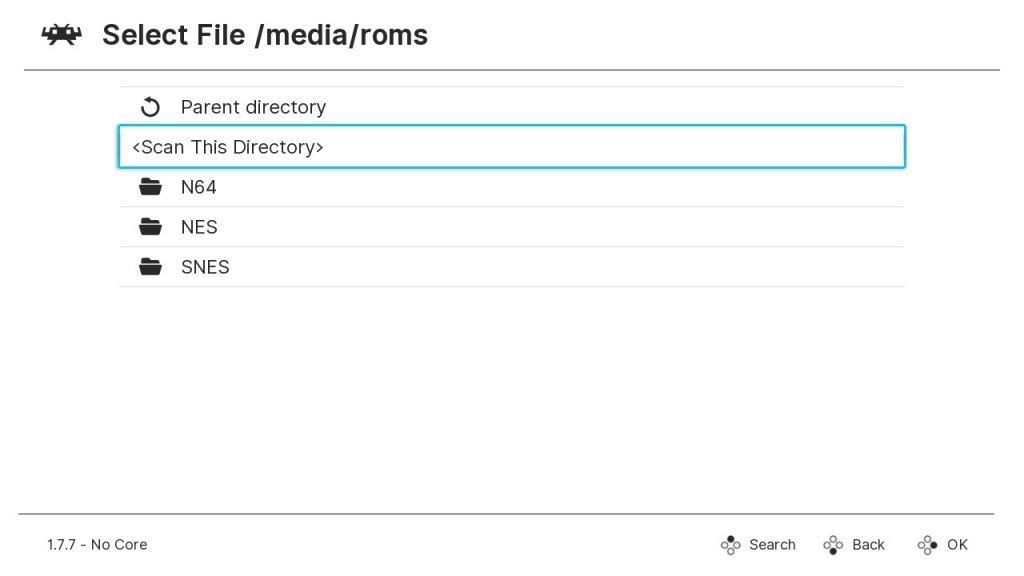
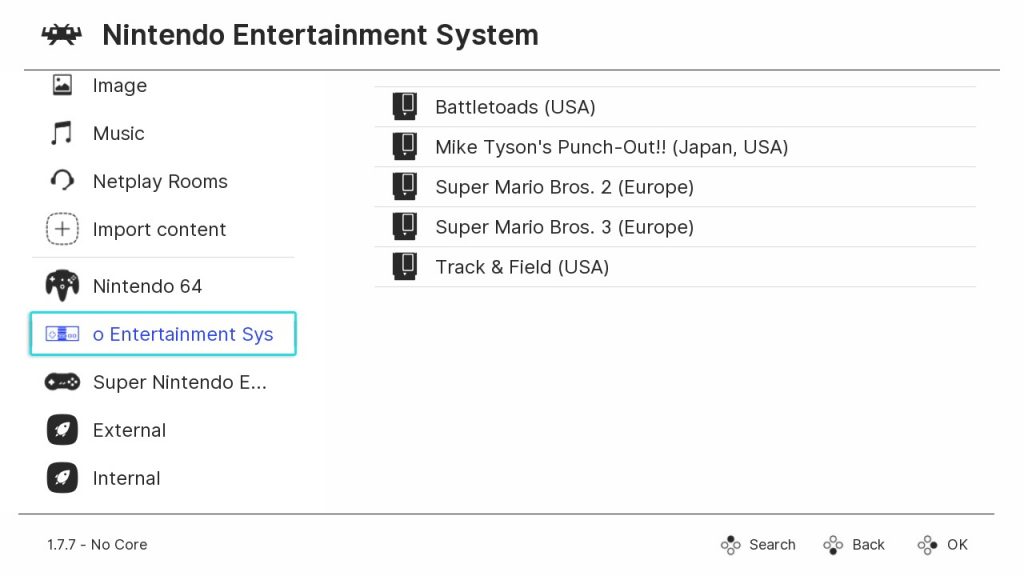
15. Select <Scan This Directory>.
16. Now go back to the main menu and you should see console icons with the games you added.
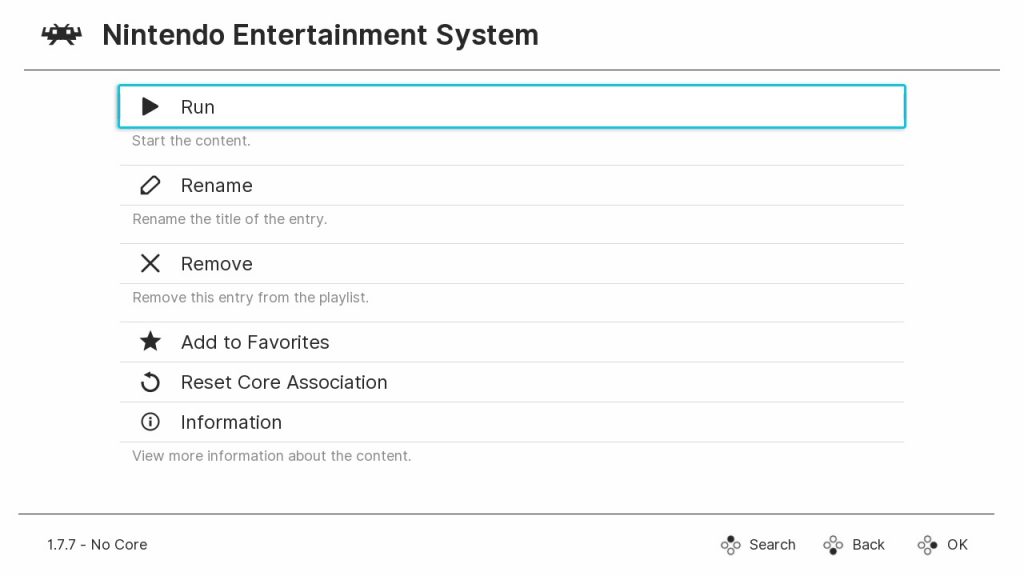
17. To play a game, select a game and select Run.
18. If this is your first time running the game, you will need to select a core that matches the console. Try a core that is intended for the console and if you run into any problems with a game you can try a different core.
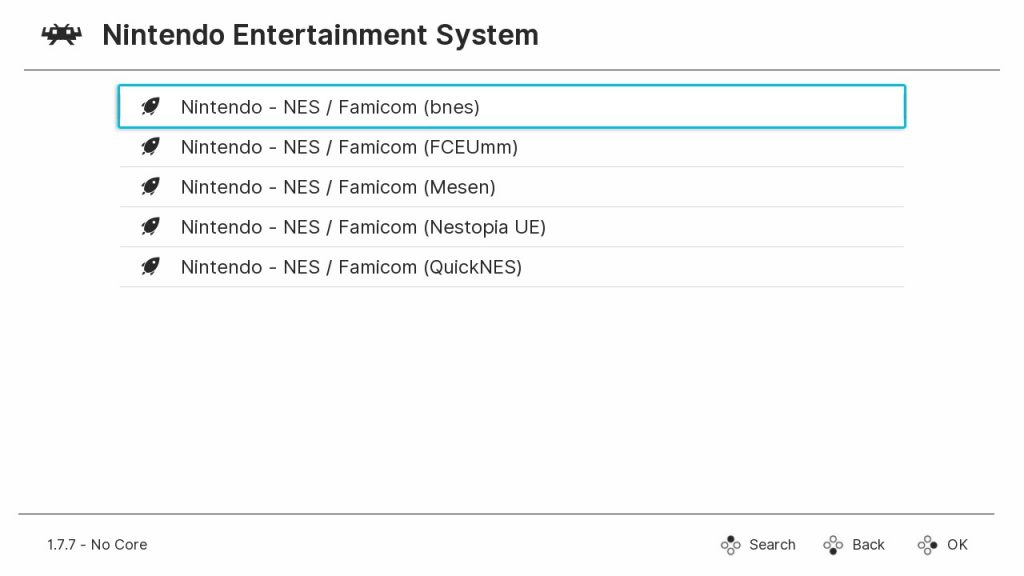
19. Now hit Run.
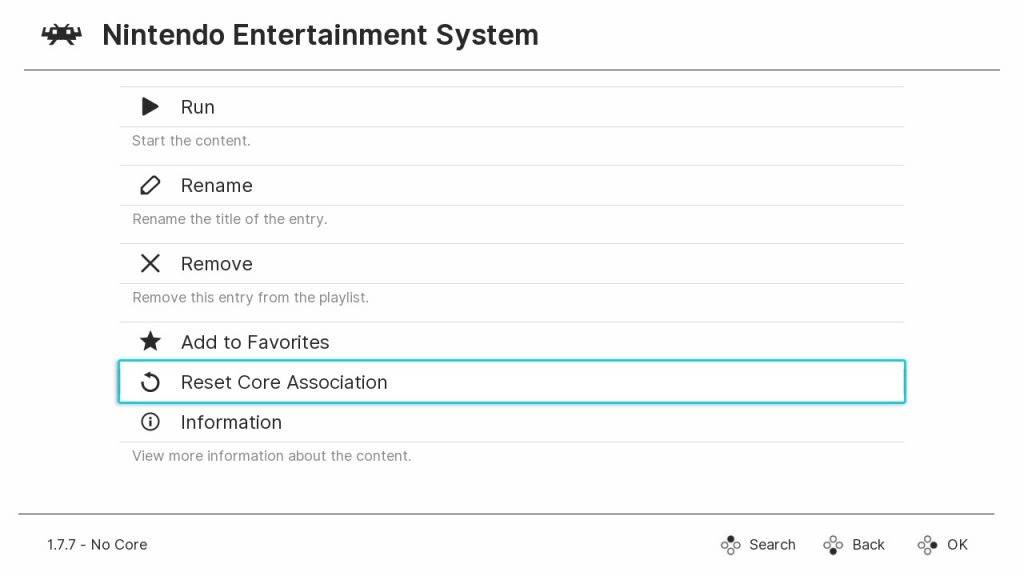
If there are any problems running the game, we recommend that you try another core. To do this, select the game, and go to Reset Core Association. This will allow you to select a different core to run that game.
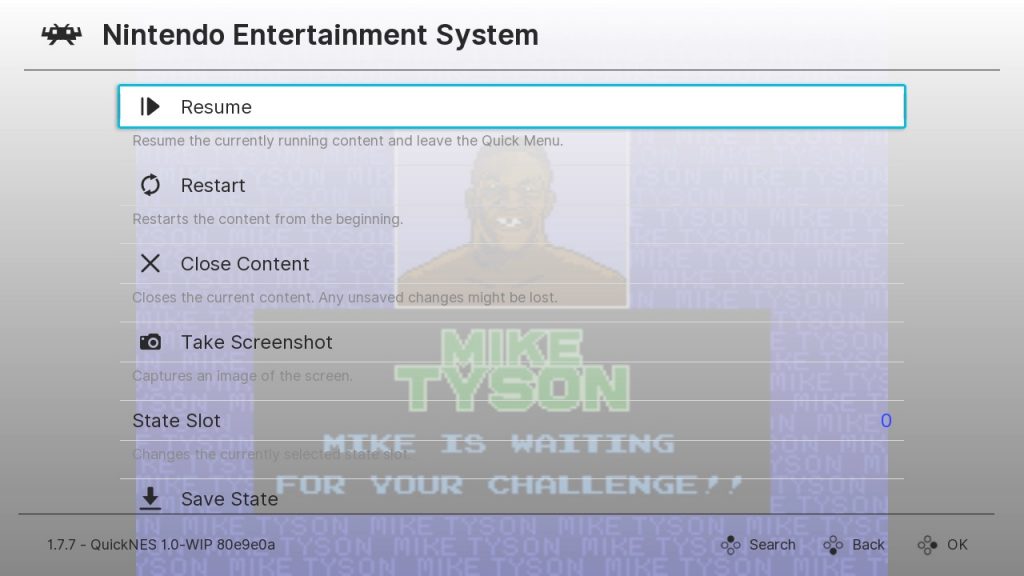
When you playing a game, you can press Start + Select on your controller to access the RetroBoot menu which allows you to restart, quit, save, load, map your controller, and more.
FAQ
Q. How do I uninstall BleemSync and restore my console to stock?
A. Since BleemSync does make changes to the internal codes, you can follow this tutorial to completely remove BleemSync from your PlayStation Classic and return it to stock.
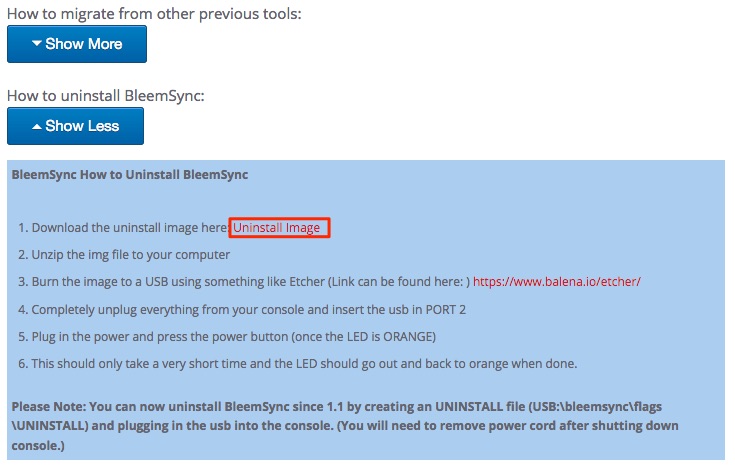
1. Download the Uninstall_Image.zip file here (scroll down to How to uninstall BleemSync and hit Show More).
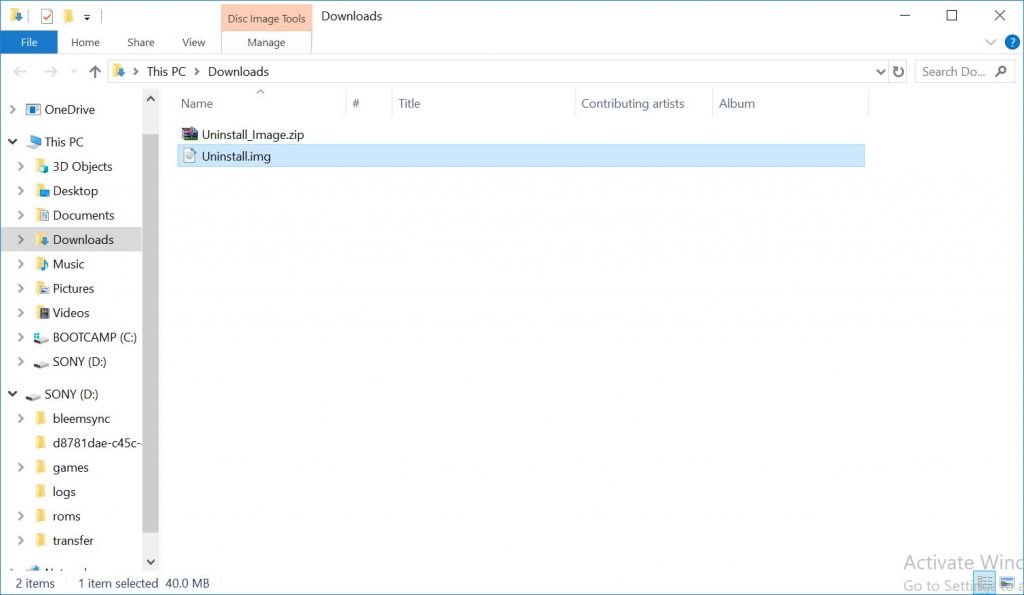
2. Extract the file to your computer – it should contain a file called Uninstall.img.
3. Format a compatible USB drive to FAT32 and name it “SONY“.

4. Download Etcher to your computer and open it.

5. Press Select image and open the Uninstall.img.
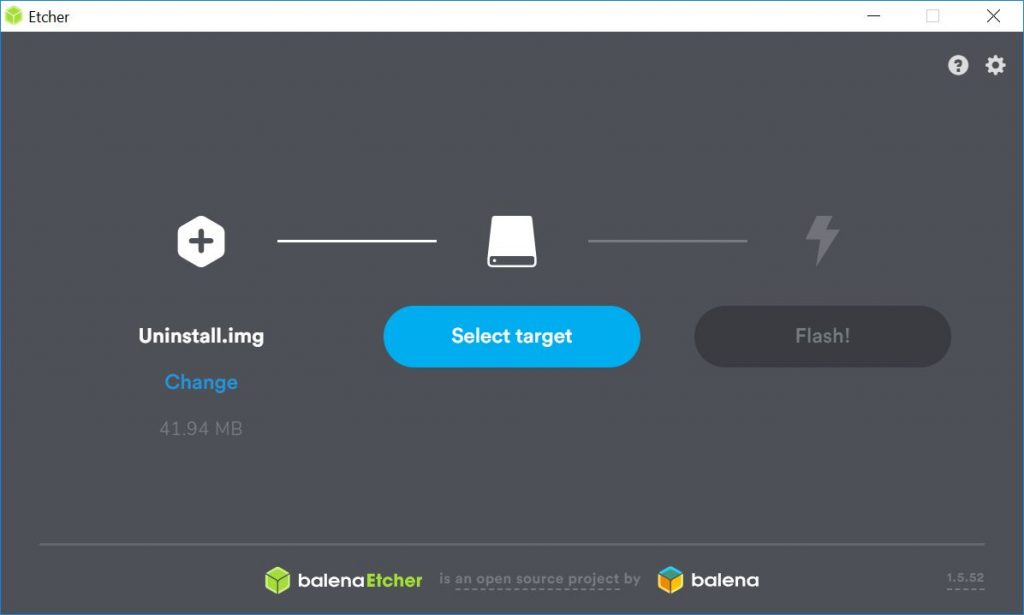
6. Press Select target and select your USB Drive. Now hit Flash.

7. When the flash is complete, safely remove the USB drive from your computer. Now disconnect the power cable and HDMI cable from the PlayStation Classic then connect the USB drive to the second controller port. After the USB drive is connected, plug in the HDMI cable then the power cable. When the orange light is on, turn on the console. The PlayStation Classic will restart and when the orange light turns on this means the uninstall is complete.
If you have any question or comments, please leave a message below.